|
4. The first cut is the deepest. |
|
|
|
|
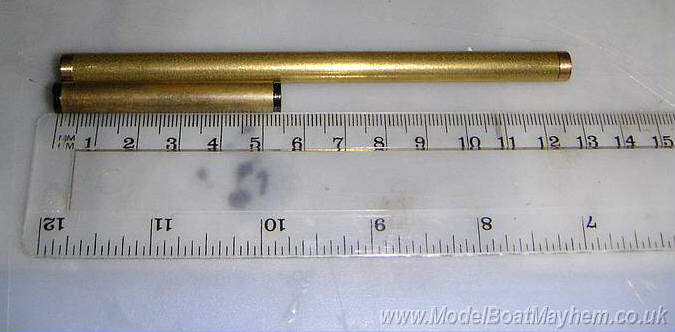 |
The new shaft was quite a bit longer than the kit one so a bit of re working was required. |
 |
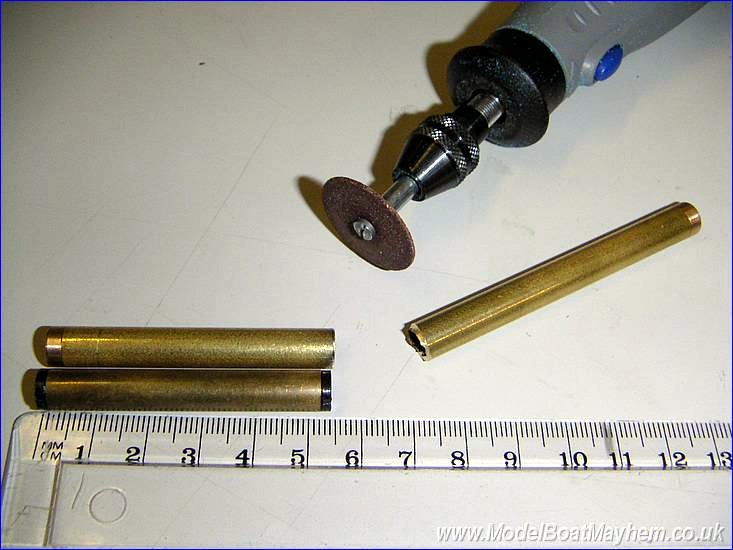
Out come me new and now rechargeable Dremell drill thingy - The battery last for ages! |
|
|
"Looks about right don't it?" |
 |
Bearing / journal pushed out and being fitted to the new shorter prop tube. The tube end will need cleaning up with a file and emery cloth to ensure a clean fit. |
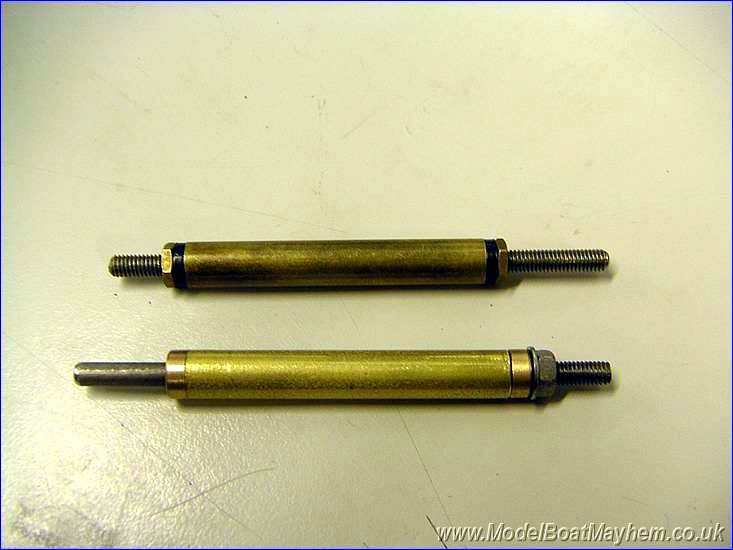 |
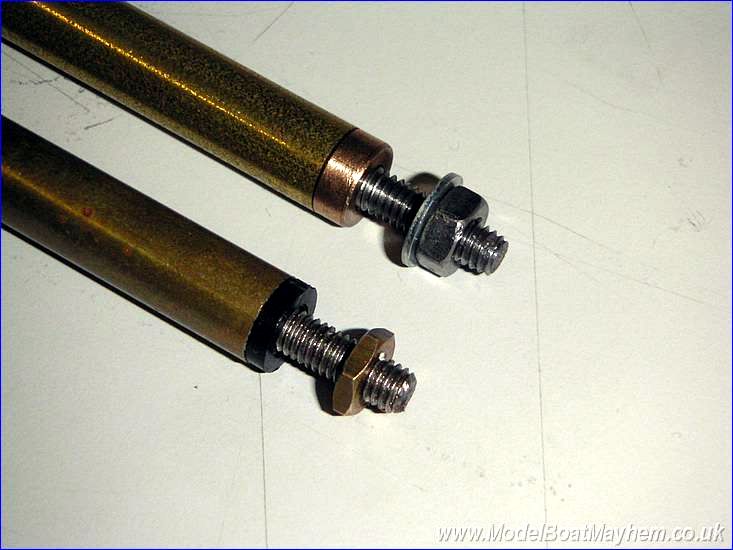
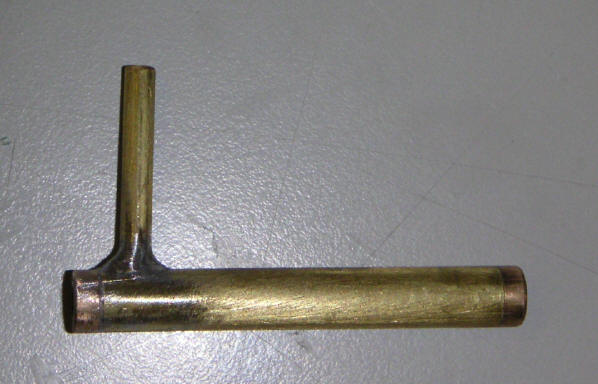
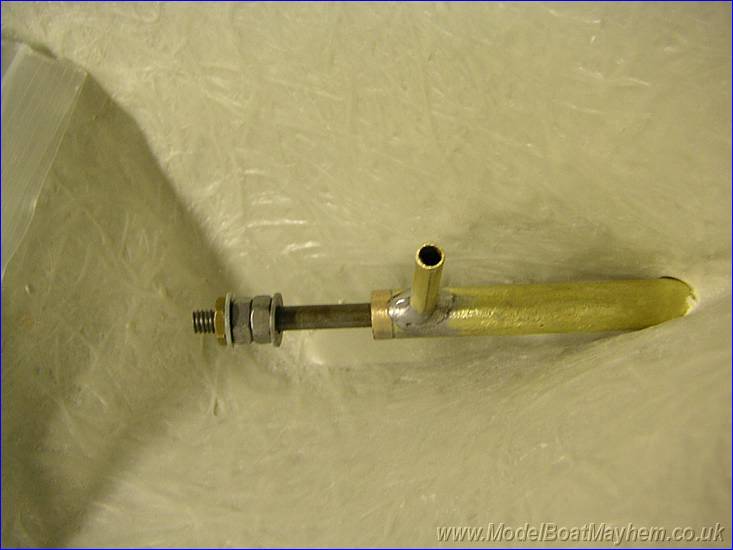
The new prop tube, shaft and bearings. I will not be cutting a thread onto the new shaft, just using a plan M4 end in the Huco plastic universal joint. |
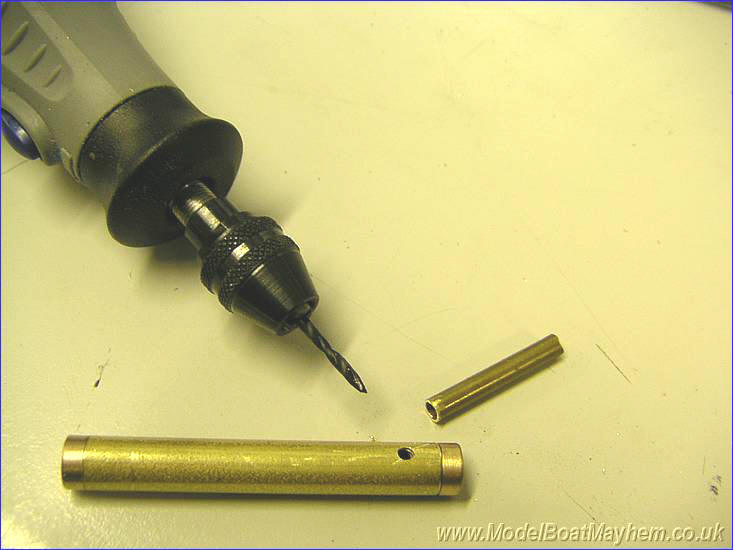 |
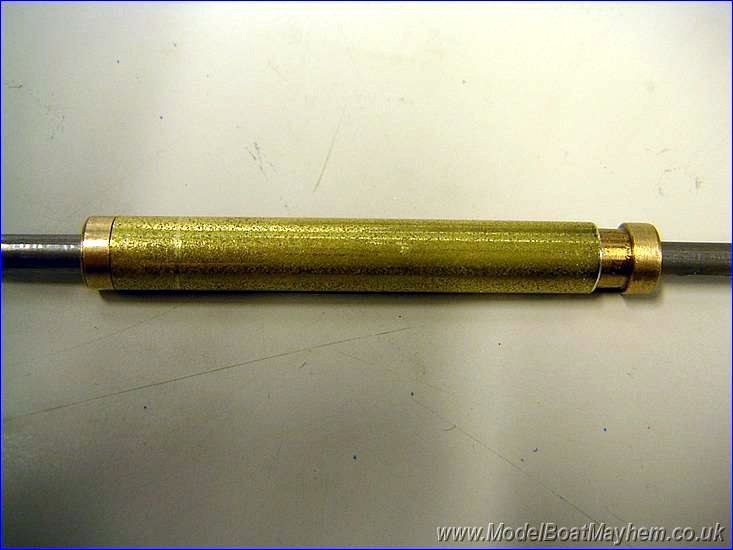
As the propeller shaft will be deep inside the model when finished, I also decided to fit an oiler tube to the front end of the prop tube |
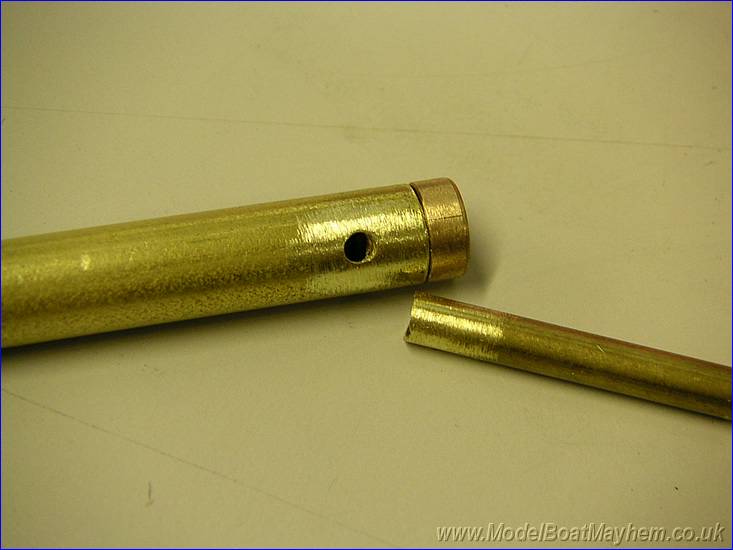 |
Hole drilled, 2mm and a 3mm OD oiler tube cleaned up and ready to soft solder. |
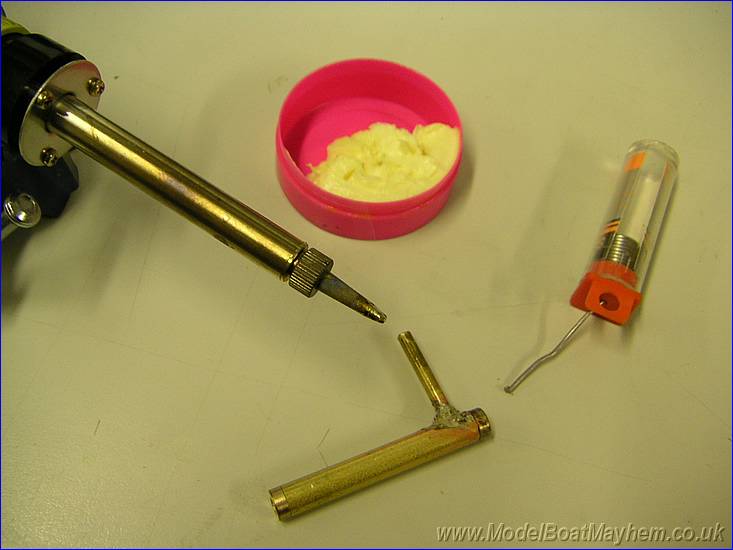 |
I used active plumbers flux for all brass soldering - use in well ventilated area. |
 |
Not bad even if I say so myself. |
 |
Time to bite the bullet! |
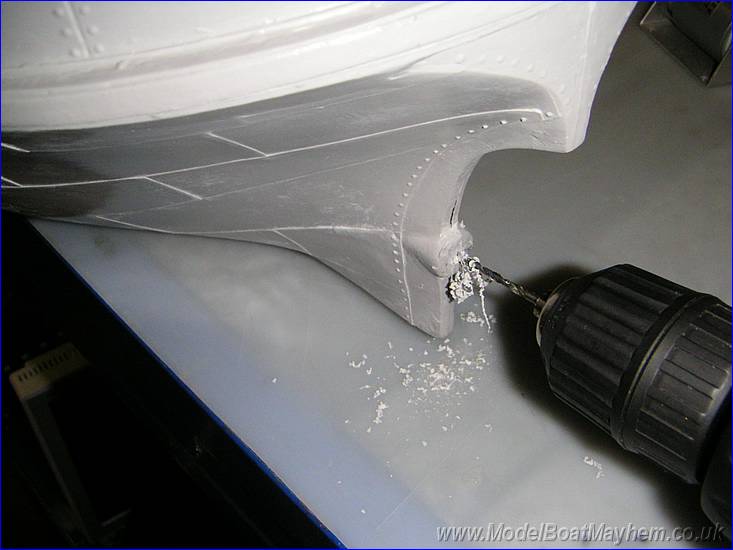 |
Like all things, start small and increase in size as you go along. |
 |
This is the 3rd cut with a 5mm drill. |
 |
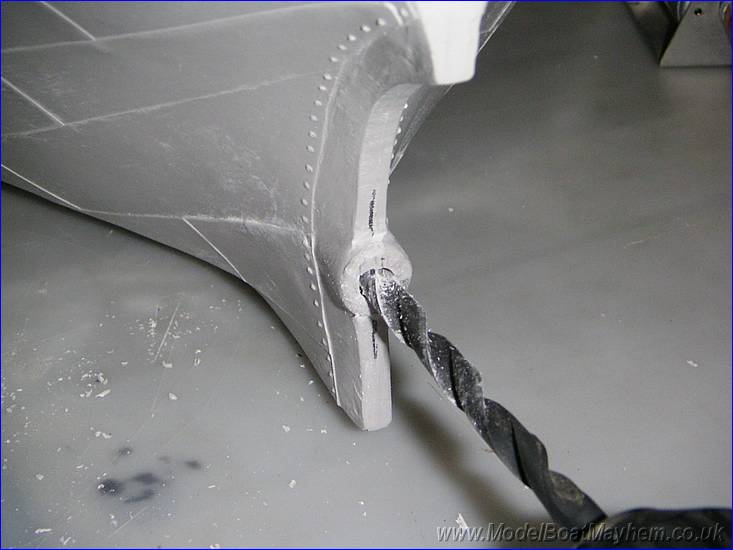
The instruction say 'open out the hole to final prop tube size with a file'... "What do they know!" |
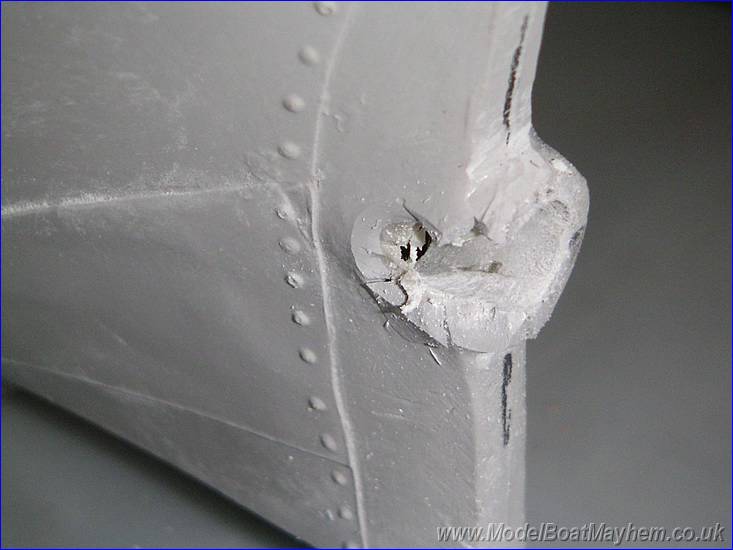 |
"Ah!" Don't drill to final size as there are very few glass fibre strands in this area.... |
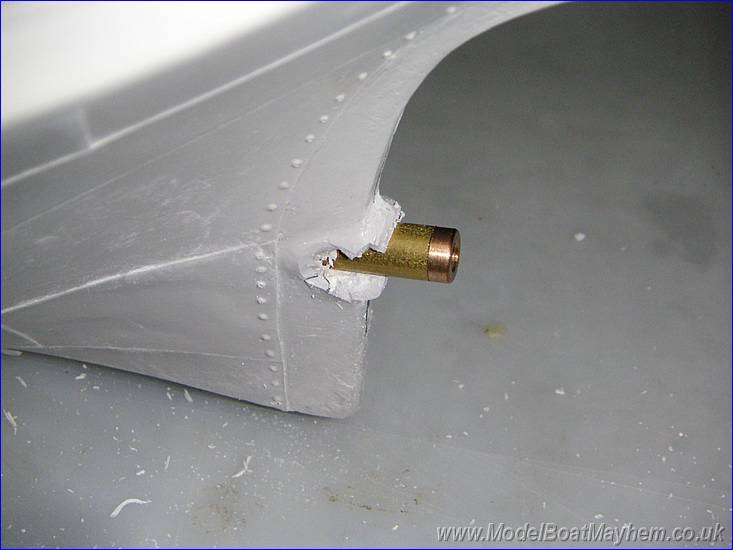 |
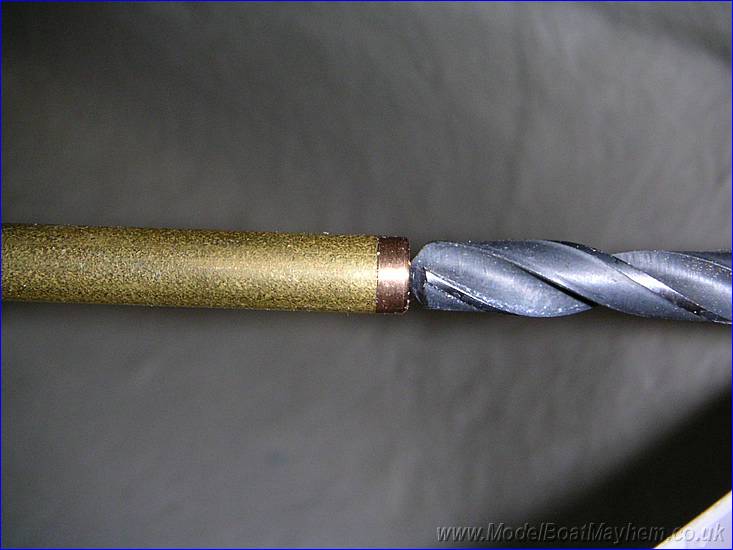
Well at least the tube fits! |
 |
Snug fit inside too, it's even in centred. |
 |
Jan had sent me some modellers putty called 'Kaltmetal', I can find anything on it on the web and the instruction are in German. What does, "Erhalten Sie nicht auf Ihren Händen!" mean? |
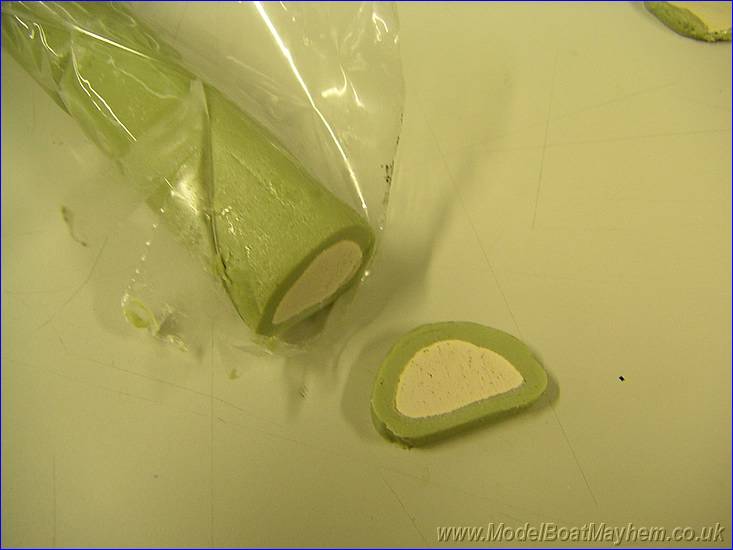 |
It's made like seaside rock.
I guessed that you just slice
it and mix.... |
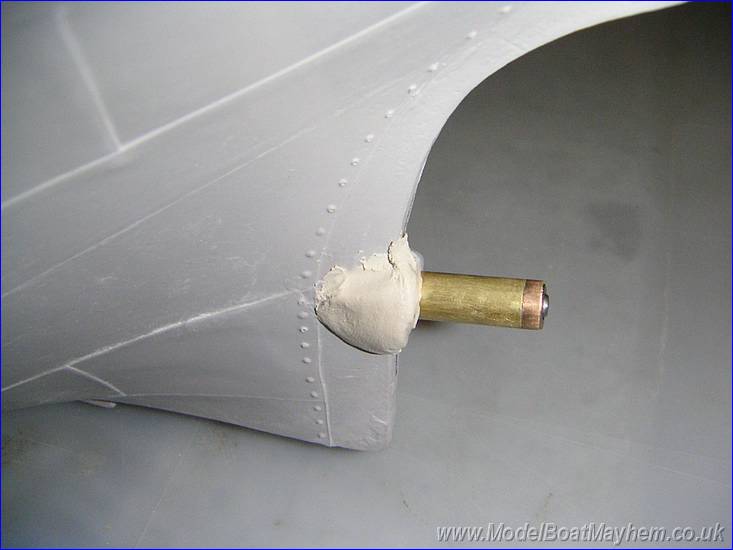 |
It's a bit dry and a drop of water helps smooth it out and help it stick. |
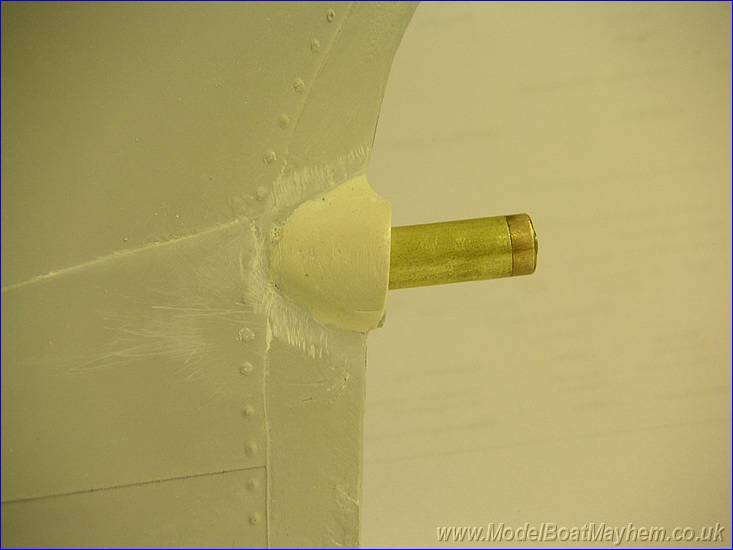 |
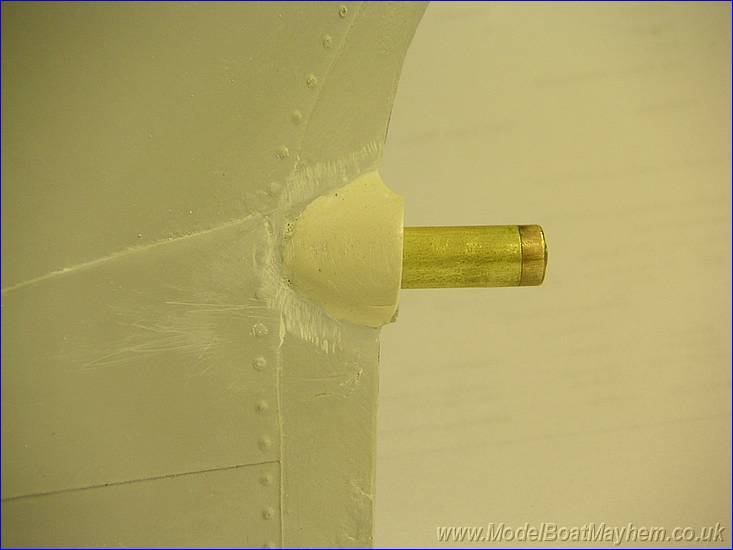 After
a bit of sanding, shaping and filing the stuffing block takes back on it's
correct shape. NB. Notice that the prop tube is 'loose' in the hole to
allow for final alignment and gluing. After
a bit of sanding, shaping and filing the stuffing block takes back on it's
correct shape. NB. Notice that the prop tube is 'loose' in the hole to
allow for final alignment and gluing. |
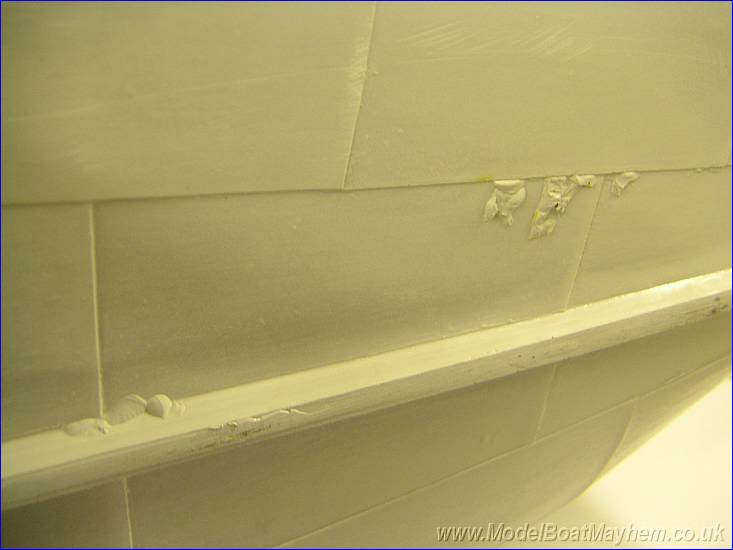 |
 The only faults I noticed with the hull was a couple of blobs of extra gel
coat on the underside. I wouldn't have bothered but I had the sander in me
hand anyway.....
The only faults I noticed with the hull was a couple of blobs of extra gel
coat on the underside. I wouldn't have bothered but I had the sander in me
hand anyway..... |
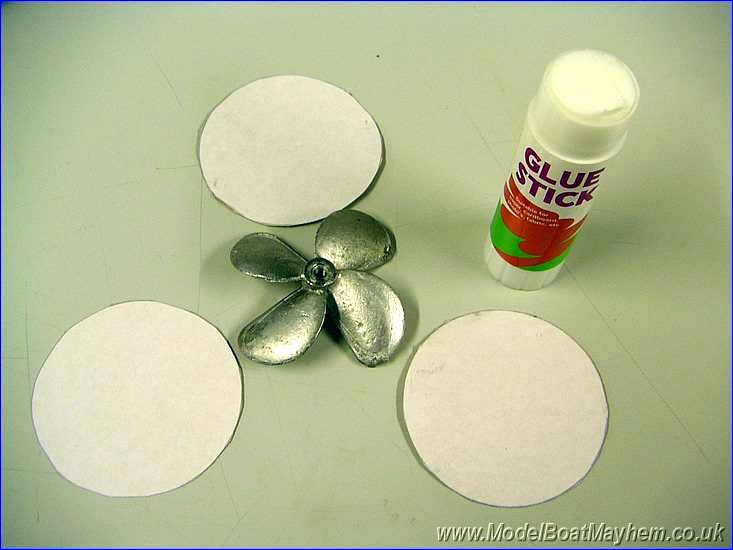 |
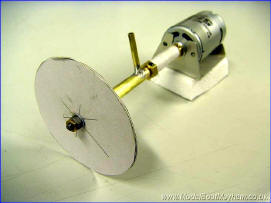
Motor, Shaft & propeller alignment is always the a part
of the build I like to take great care with. The horizontal alignment is
just a matter of measuring but the vertical alignment ( although not that
important in regards to efficiency in a Puffer ), will be very noticeable
with such a large propeller. I therefore made up a "dummy" prop with 3
pieces of card glued together. |
 |
Glued and centred up. |
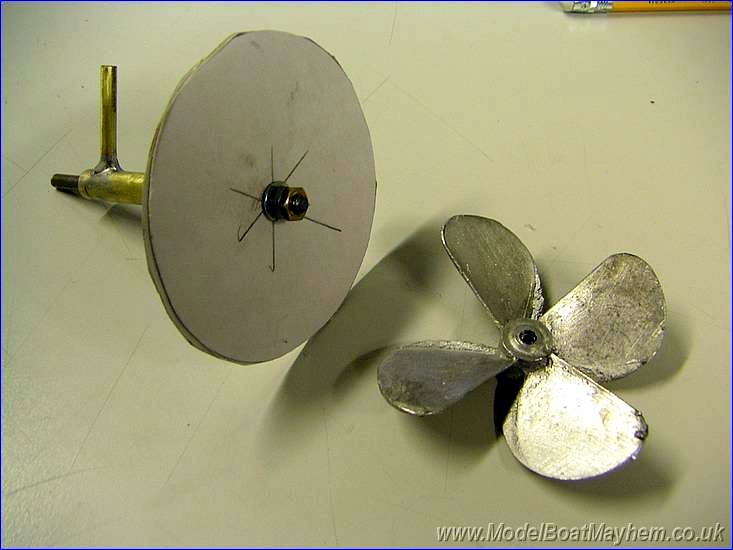 |
Drilled and mounted on the shaft. |
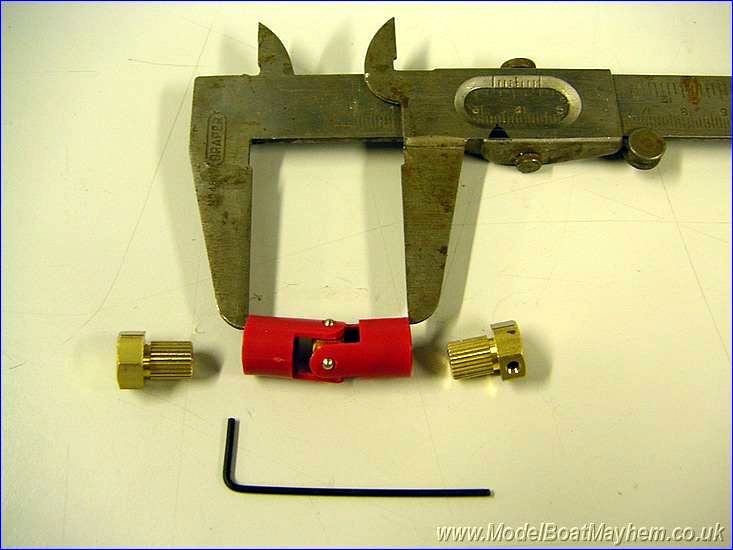 |
I'm using a
HUCO type universal coupling. |
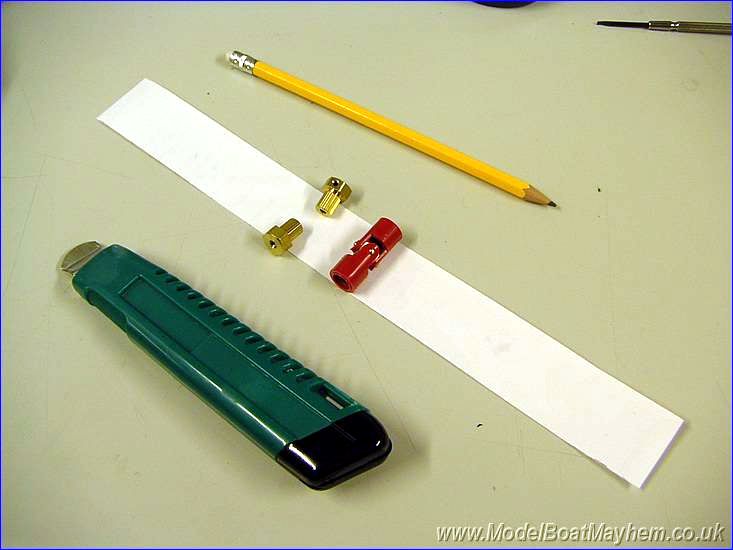 |
'What to do?' I know, I use a paper tube.... |
 |
A few minutes rolling later,
an absolutely solid coupling! It's just held together with Sellotape. |
 |
Here's the whole assembly ready for test alignment. |
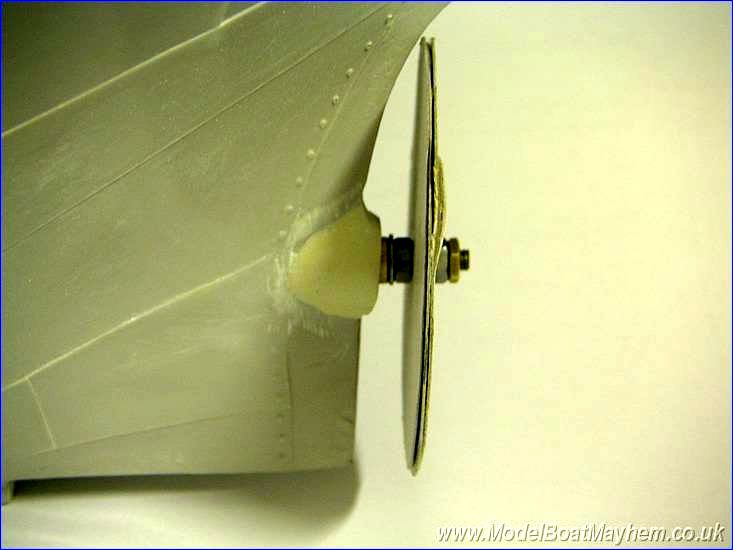 |
As you can see the prop seems a shade high from the keel but nothing I can do about that. |
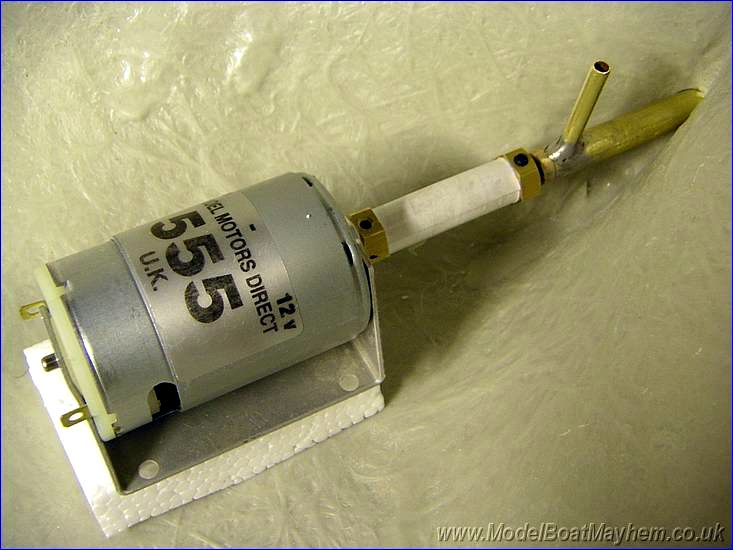 |
the motor need about 16mm of packing underneath the motor mount to align the dummy prop disk vertically. |
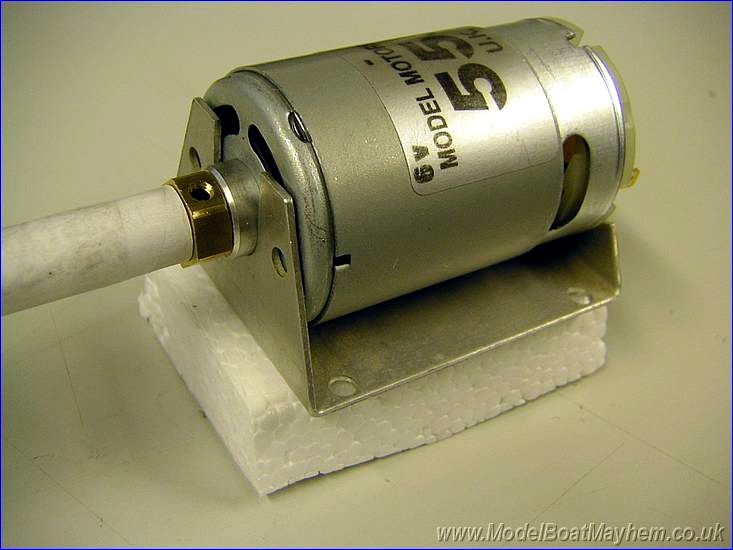 |
The packing piece is a polystyrene block that needs to be replaced with a wood block..... that for next time. |
 |
Oh, before I forget, Jan also asked me to replace the smoke unit as the Tomahawk unit looked so poor. This is the Hunter System unit. Test and video with next update. |
|
|
|