6. Clearing up the mess from last time....


Well after a bit of a break, I'm getting back into this build. Not sure what the problem is, I just seem to have a bit of a mental block regarding the kit at the moment.

 So to get myself back into gear, I've promised Jan a deadline of Christmas which will help concentrate the mind.


The white metal fittings are bagged up in a curious way, for example most of the cabin superstructure parts are in bag 6 but then you have to spend 10 minutes looking through 2 other bags to get a couple of other required parts...... I do sound grumpy at the moment don't I !!


After repairing the starboard cabin porthole (only about 80mm out!?!) the casing steps [67] are glued in place along with Storm rail stanchions - (hand rails) [66]


Next is the Double riveted angle strip & corners [65 & 15]. Actually because these parts are so well made I found cutting these parts and fitting these parts together very satisfying.


The finished product is very convincing....
 

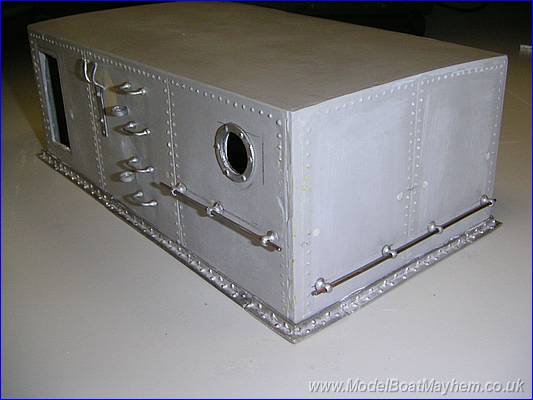
... and is a very clever way of hiding the hatch opening.

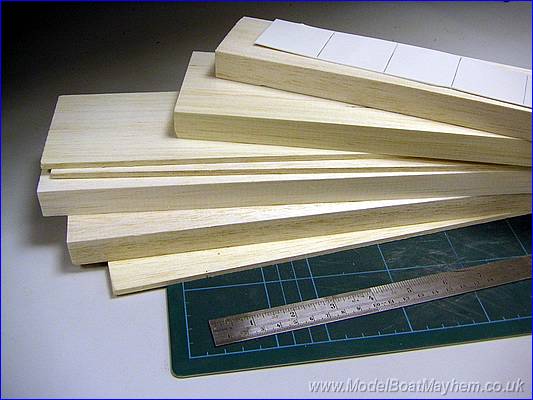
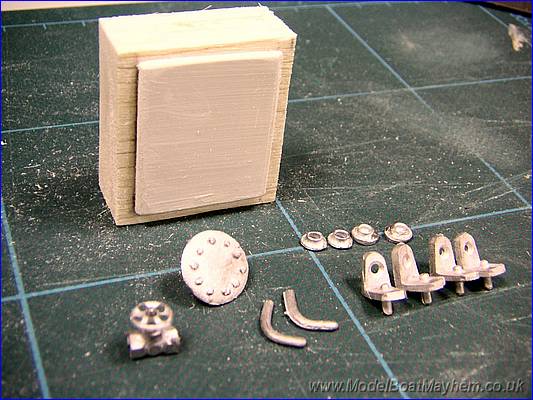
Next the drinking water tank.
Now somewhere in the instruction I read how to make this up.... but after 2 hours reading & rereading the instructions and studying the plans, I couldn't find it anywhere! Help! If you know where it is PLEASE put me out of my misery  -  
(Email) 


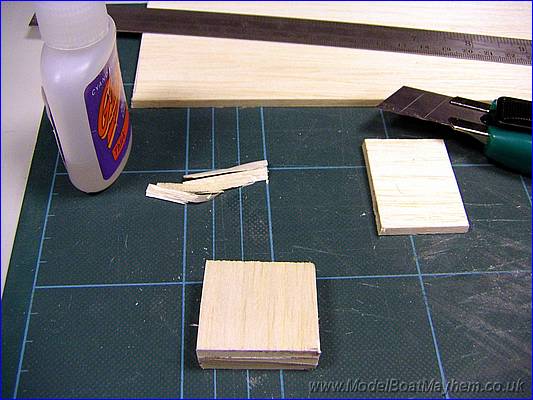
In the end I decided to make one up out of balsa wood. Sizes are not indicated in the plans or instructions so an accurate 'guestimate' was made, balsa cut up and superglued together.


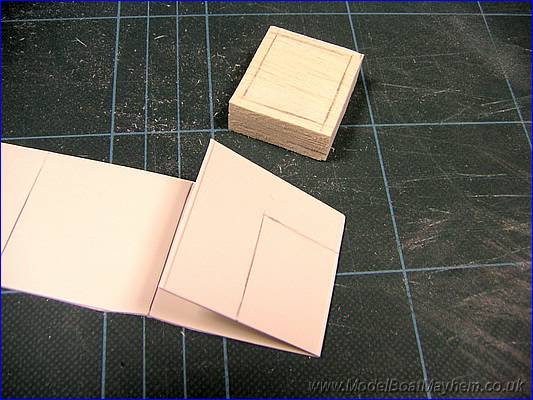
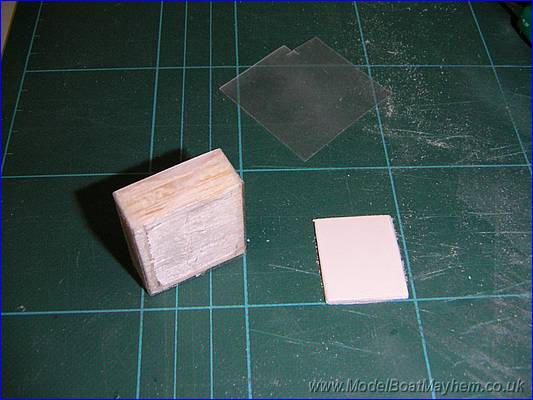
A piece of scrap plastic was also cut out to simulate the plate on the tank.

Block all sanded flat & plate glued on & the tank fitting singled out.

Bradders came in the next day and said he didn't like as the  end grain wood if hard to fill ( to make it look like metal ).

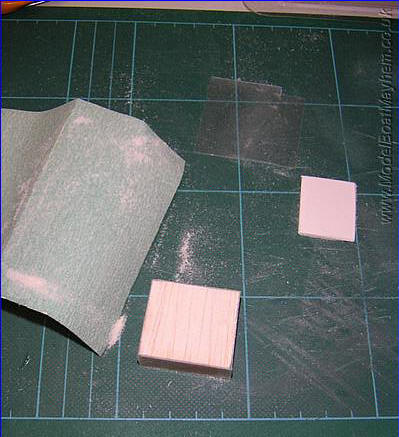
I removed the front plate and covered the balsa in thin see through plastic on the front and four sides.

OK, so it does look a lot more realistic now.....

A small hole is required for the inspection plate.

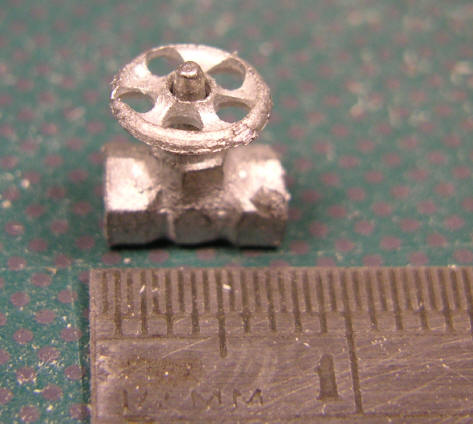
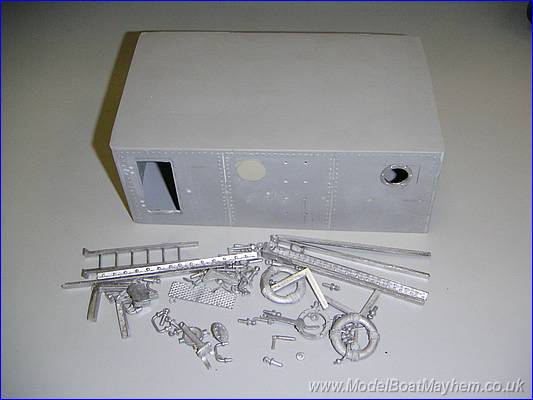
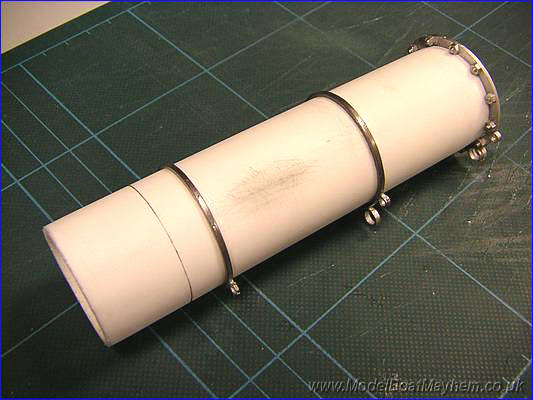
Look at the quality and size of these fittings!!
Wonderful!

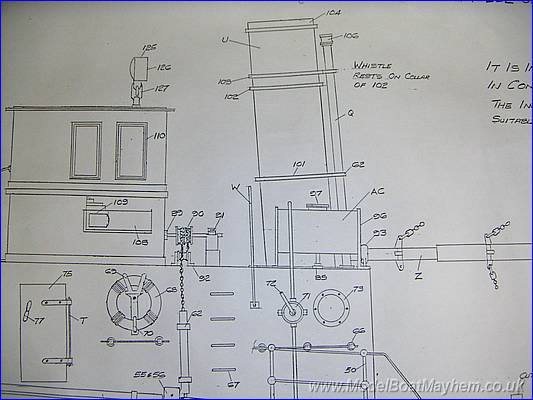
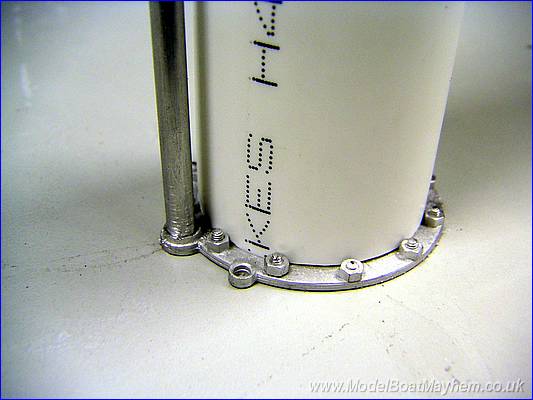
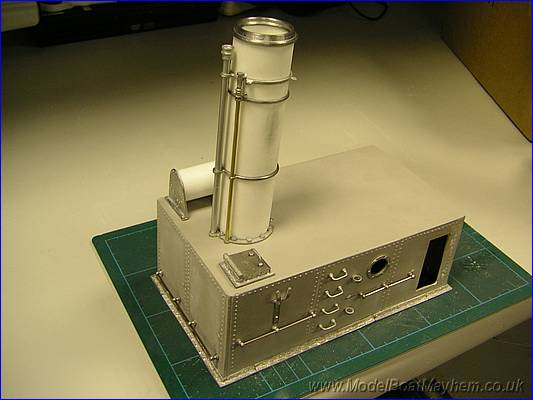
Next job the funnel.
Nothing in the instructions, just work from the plans.


Trail fitting of the he funnel bands, a couple were quite tight, file / sand gently and roll out with a metal handle tool if required.


Ensure you get the ring on straight. I use a short piece of paper, wrapped around the funnel and aligned so that the straight edges form a straight line. Easy! And don't forget to draw a vertical datum line for the pipe work and eyeing up when sanding. Make sure you sand down the plastic good and proper for the painting.


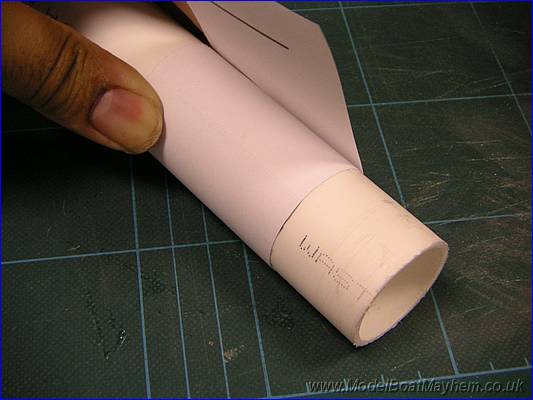
I sanded down the back edge ( to give it about a 2o tilt backwards .... this is only to make Puffers LOOK like there were moving faster than they actually were!!!!

The waste pipe from Wickes, sorry the steam funnel is surprising hard to sand! Lots & lots of dust but not much tilt for ages!


Take you time with the bands as they are quite soft and easily damaged. I used a thin superglue for fixing.


The steam whistle has a female fitting and the supply pipe is solid wire!?!? I decided to drill out the underside of the whistle and superglue it to the "pipe". I put a 'stand off' bend in the pipe but it didn't look right against the funnel so it was straightened it out again.


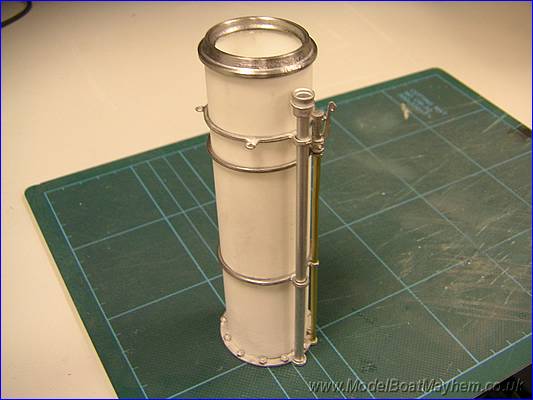
The funnel complete ..... and leaning the right way.

Even Bradders said 'it weren't too bad.' High praise in deed!!!


Next is the boiler water feed tank. Again plastic waste pipe of which the insides need to be sanded out for the end cheeks to fit.


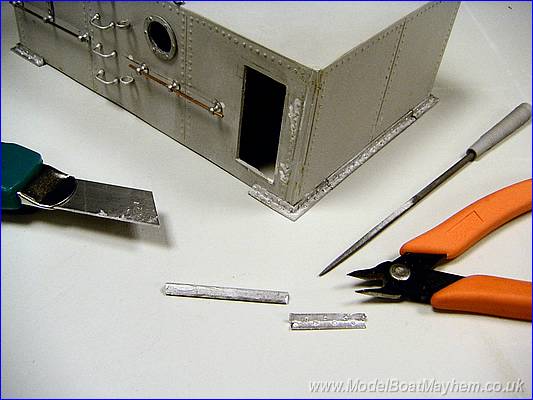
The emergency hatch is easy enough, just needs gluing together. Make sure the base is good and flat though.


Well all this just my opinion, but what do I know!


       Home