|
Schnellboot -
My Build of Jack's Robbe S130. |
|
|
Click photos to
enlarge. |
Well it's been a funny old
couple of weeks, convalescence, very busy at work, a couple of days out
for Mayhem & moping around. The moping was mainly because I had had a
break from the build and the next bit, filling and making good
( and there's a lot of it to do,) I personally don't find easy to do .....
mostly 'cause
I'm not very good at it! (Jack, the shipyard owner, take a sharp
intake of breath!) PS. Many thanks for the emails giving encouragement, advice and enquiring if I had surrendered, died, etc. ( See below ) Thanks. PPS. in case I only mention it 6 or 8 on this page .... I've now got a Robbe Happy Hunter kit! :-) |
|
|
According to Shakespeare; "A man's got to know his limitations".... or was it 'Dirty Harry'?! I looked up quite a bit about filling and repairing plastic on the internet and found a few useful things but nothing outstanding. I then went to the 'Dean's Marine' open day the other weekend and had a long chat to Mike Bond a professional model maker. I asked Mike one quick question in passing and ending up bending his ear for about 30 mins! What a great bloke! He knows everything. -( See this month's Marine Modelling mag, page 66.) |
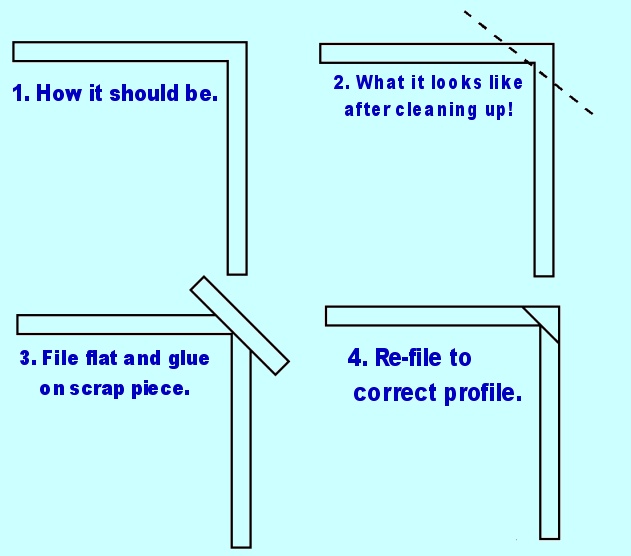 |
I was mainly worried about working to different mediums, i.e.. the ABS and the filler as the two would have different sanding rates. Mike suggested that I sand right back the offending area and stick on a replacement scrap piece with solvent type glue and trim / sand back - simple! If only I had thought of that... |
 |
Another thing that I was
advised
was that the front gun emplacement, deck, wheelhouse, floatation foam and
final hull rub down should be completed before any filling and painting should
be done. This sequence was reduce the need to patch and refill gaps once
everything was in place thus also preventing paint shading problems. |
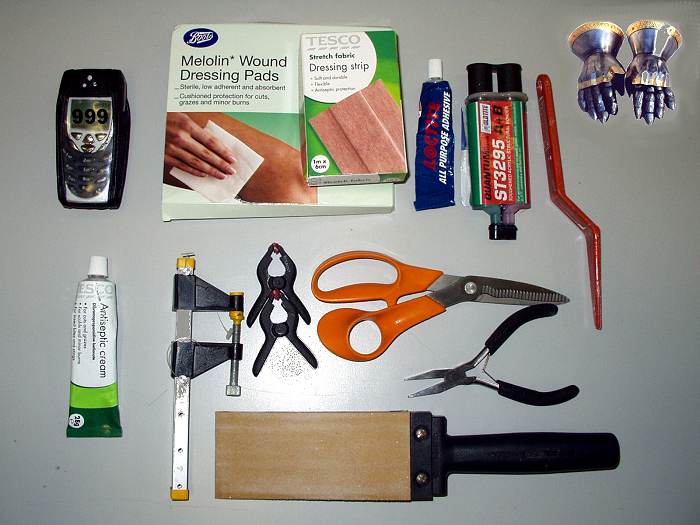 |
"Right! what do I need?" Sandpaper, Sanders - various, Glues - various, Scissors, Foam, Clamps, Happy hunter kit, Knives = Danger!, Steel gauntlets, Sticking plasters, Wound wadding, Bandages, antiseptic cream............ mobile phone with 999 pre-dialled! |
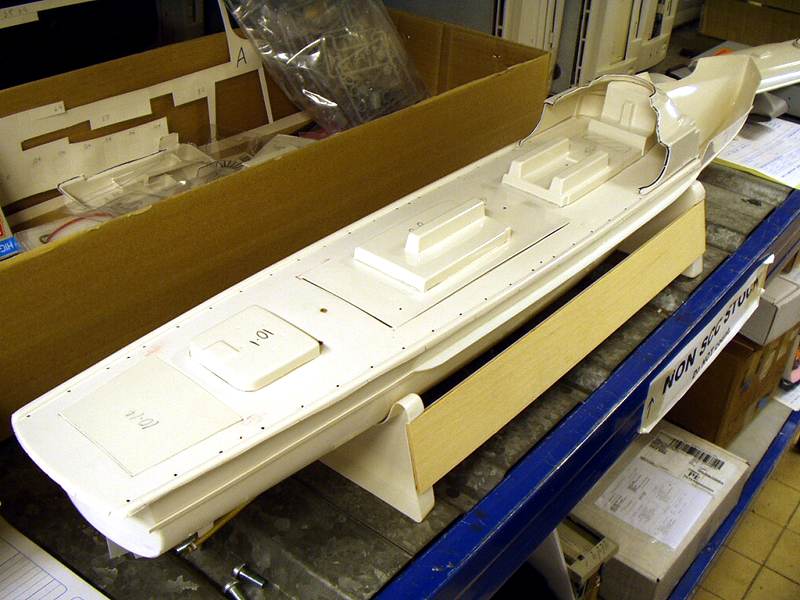
 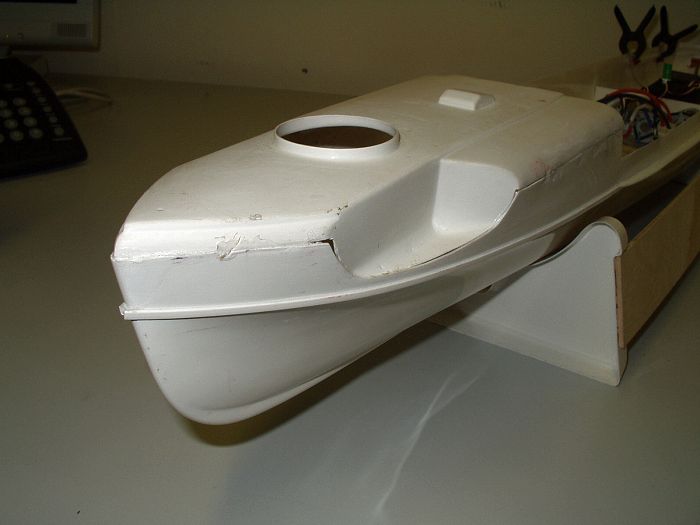 Sanding back the bows took
less time than I expected, about an hour or so. I was very pleasantly
surprised to find that it didn't look as bad as I first feared. It seemed
that all my careful planning, expert preparation skills .....and galloping
blind luck had finally paid off!. In fact, I my just get away with just
filler. "Yeah! Some hope!"
Sanding back the bows took
less time than I expected, about an hour or so. I was very pleasantly
surprised to find that it didn't look as bad as I first feared. It seemed
that all my careful planning, expert preparation skills .....and galloping
blind luck had finally paid off!. In fact, I my just get away with just
filler. "Yeah! Some hope!" |
|
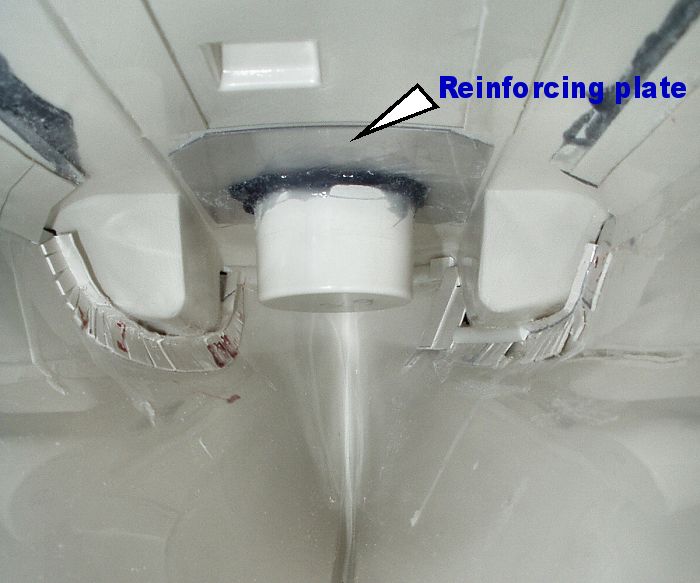
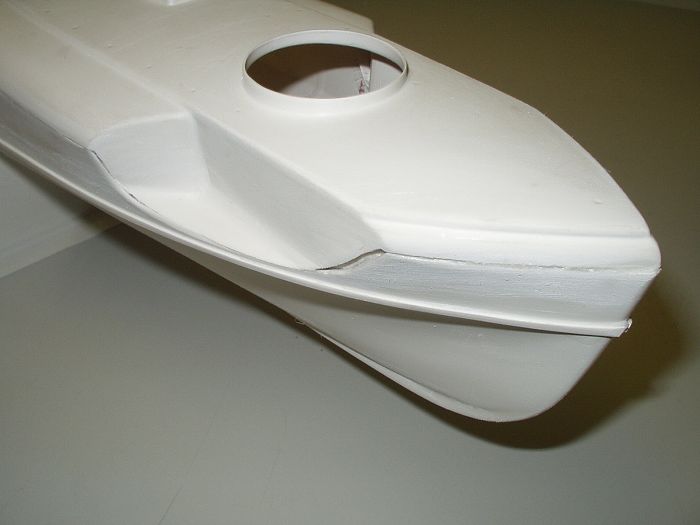
First the front gun
emplacement was finished off, glue to the support plate, the top sanded
back and glued to the underside of the foredeck. |
|
 I didn't have the right clamp for this job so I employed the skilful hands of a passing 'Bradley'! "Stop moaning, you can have a lunch break tomorrow!" |
|

 |
|
|
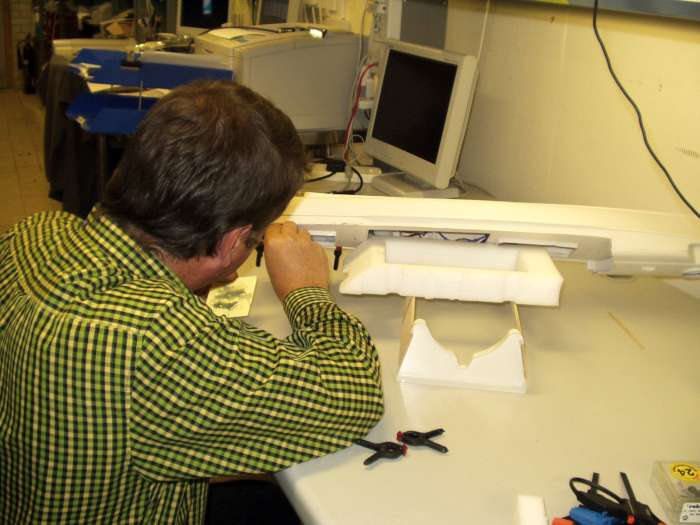
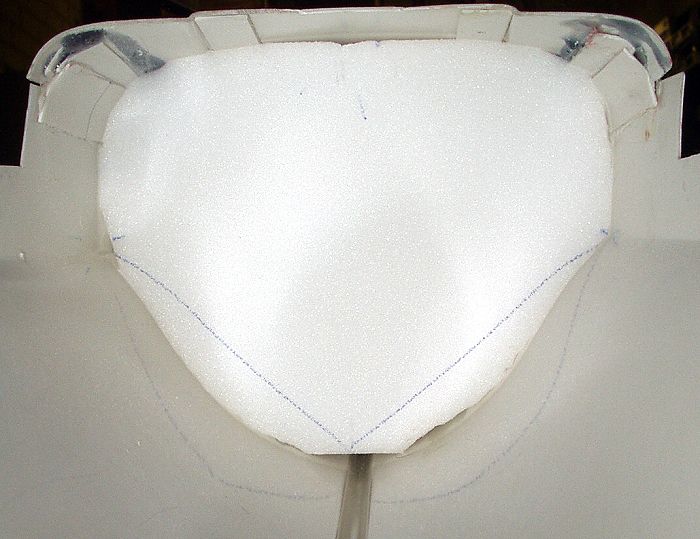
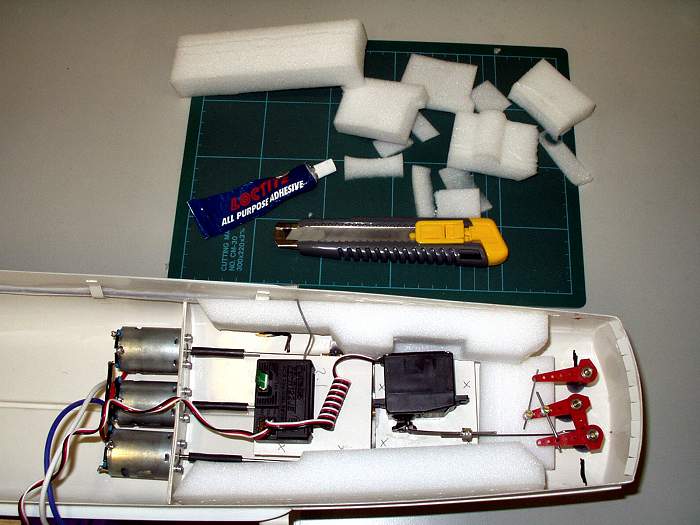
Next the foam floatation. I've
had bad experiences with 2-part & plumbers aerosol foam (see
Shadow)
so these days I tend to use polystyrene or any other packing type foams
that can be carved to shape. It's interesting how careful one is with a sharp knife once you've had an accident isn't it |
|
 |
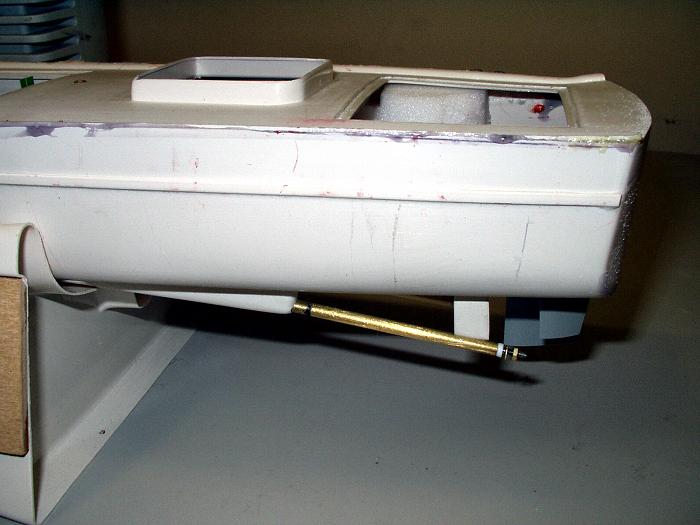
Next - the main deck joint!
First of all, my I say in my defence that that this was never
going to be an easy job! I was never happy with the back of the boat and like the bows, I believe this needs to be very strong in case of accidents etc. I made up another 'L' girder and cut 'V' slots in it to cater for the curvature. This was glued on with Plumbers glue. |
 |
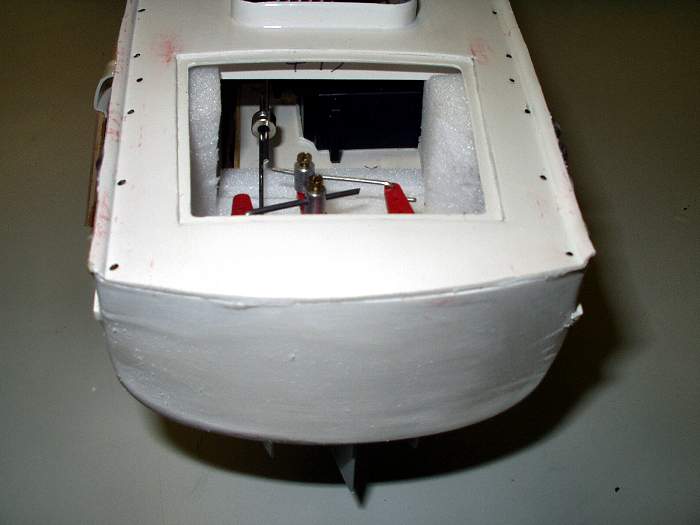
The Transom piece in place, nice and strong now and something to glue to.. |
|
|
Back to the cause of the laceration, the aerial tube. I tried another couple of glues but nothing seems to hold to Mylar tubing. A few off-cuts was the order of the day and also to reroute the tube into the forward motor compartment. After various trials & tribulations I got it in place and it's still holding! - |
 |
I was worried about it being in the same compartment as the motors but that's the advantage of using an aerial tube, it can be easily moved in a refit. |
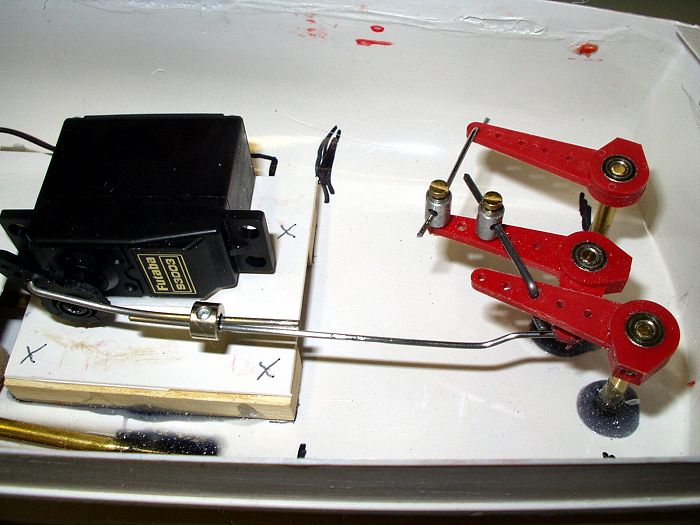 |
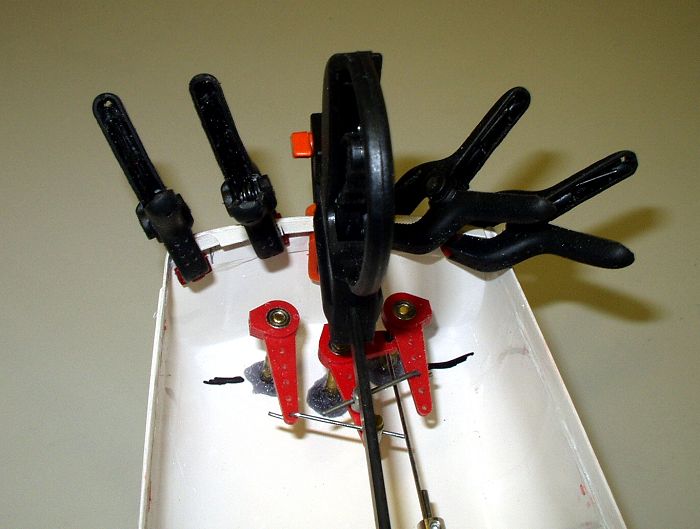
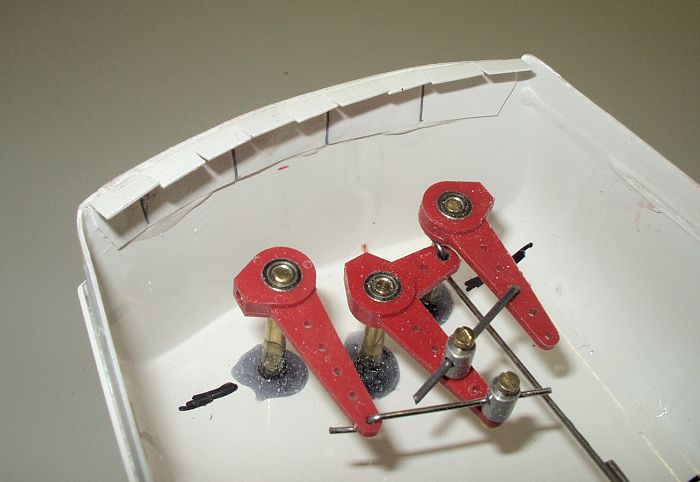
A few more jobs before the
main deck was fixed down. As it turned out, the rudder links had developed a problem. The main link was now binding with the two slave arms. Out came the links and on went two sets of pliers... It works fine now! |
 |
I had buoyancy in the bows and
to help in case of a real emergency, I would put buoyancy in the stern as
well. A bit overkill but there was sufficient room. Watch out! It's that same dread knife.... I just don't trust it.... or me! |
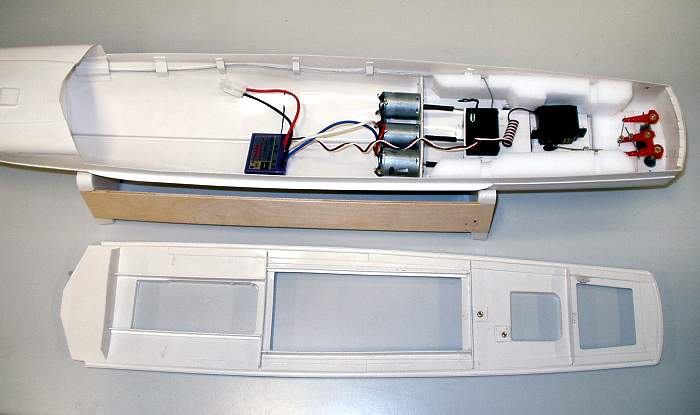 |
Just have a look for me, everything is in order and I haven't missed anything? |
|
|
|
|
|
|
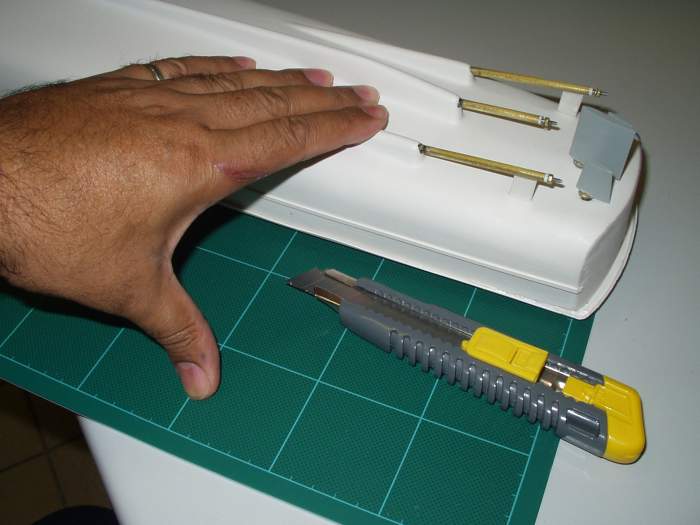 |
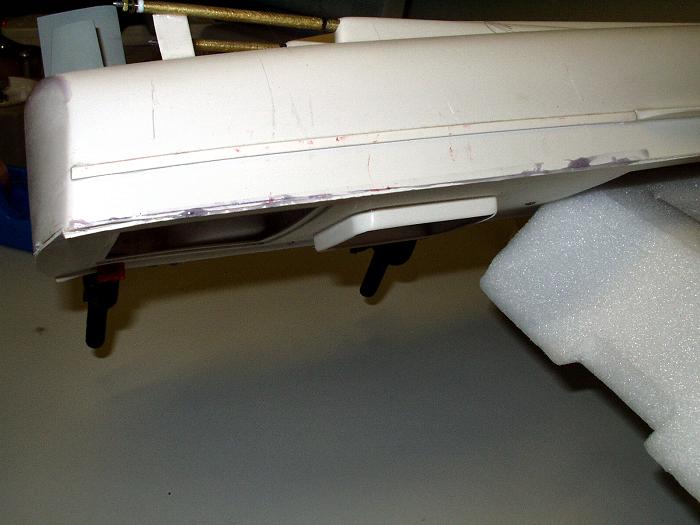
Now this was the easy part -
trimming the deck overhang back flush to the side of the hull. Ah! That
Dammed knife again! By-the-way, what do you think of my new scar? |

|
|
 |
The Port side was a different story..... |
 |
... the Starboard side was a total disaster.... |
 |
... And when I tested the
front, the whole thing detached and lifted straight up! OH
DEAR!!!! I'm in deep Scheiße! It's at times like this you need someone nearby to blame for everything, but John my workmate was on 2 weeks holiday! I also wished for a fast car but a diesel Vectra isn't very fast! |
 |
"Donner & Blitsen!"
"In fact
Dasher and Dancer, and Prancer and Vixen, Comet and Cupid, Donner
and Blitzen!!! |
 |
After a long visit to the
bathroom to ponder the feasibility of making the cut on my left hand
suddenly a lot worse, 'Bradders' came down after work to have a look, a 'Larff'
... and to see how I was getting on. "You're in deep %$£*&%$! You've right %$£*&£" that up haven't ya!" "Thanks Kev." |
 |
We discussed several possible
solutions. 'Bradders' was all for re-gluing the joint using Superglue or
the epoxy. I was all for going up to the model shop and getting two strips
of 5mm square wood to act as stringers under the deck and gluing down....
while I was up the model shop I could also order Jack a replacement kit! |
  |
In the end, 'Bradders', quite
rightly talked me into a re-glue job with the epoxy, after all the joint
was now right, it just wasn't holding. We, ( I say "we", in fact
'Bradders' did all the work ) glued the deck down section by section, six
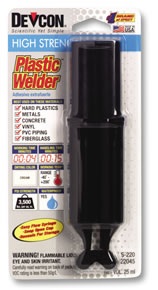
sections in all. We first used the Quantum and when that ran out, we
resorted to 'Devcon' 'Plastic Welder'. Jack had sent a pack of 'Plastic
Welder' with the kit but I had dismissed it as I thought it was 5 minute
epoxy which doesn't stick to ABS. We mixed some up and tested it on a
couple of off-cuts - brilliant! It mixed as well as the Quantum but not as
runny - ideal for a but joint where you want the glue to stay where you
want it. - Great stuff. Go out and buy some tomorrow! |
|
|
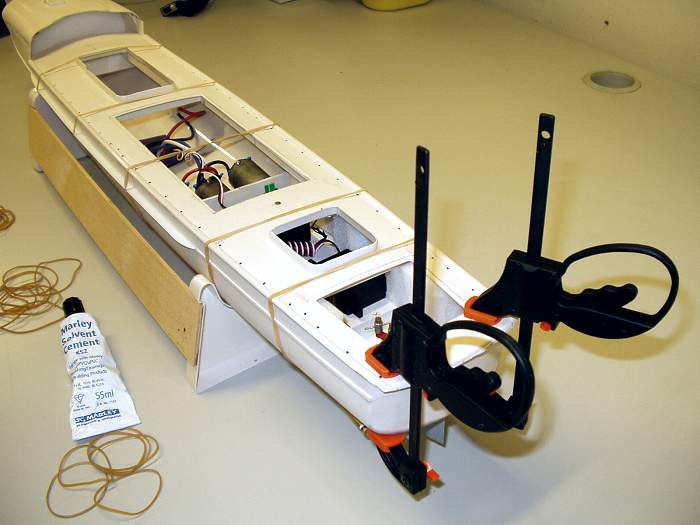
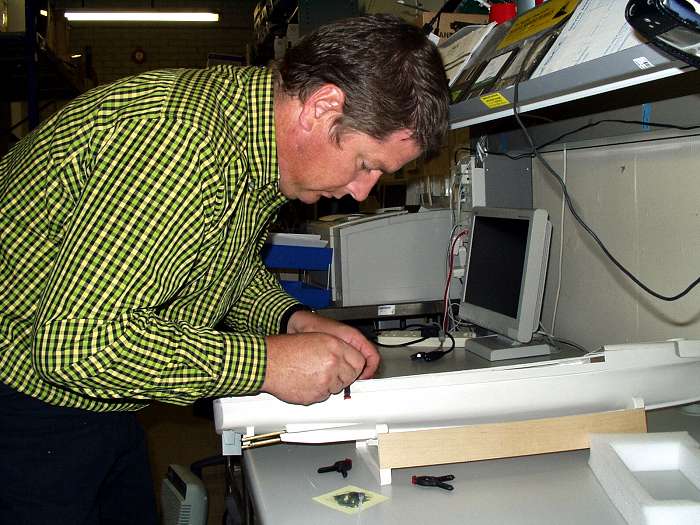
'Bradders' worked for minutes
without a break, gluing each section and applying spring clamps and then
tape as the clamps slipped and "pinged off" flying through the air if
graceful arcs all over the workshop......! |
 |
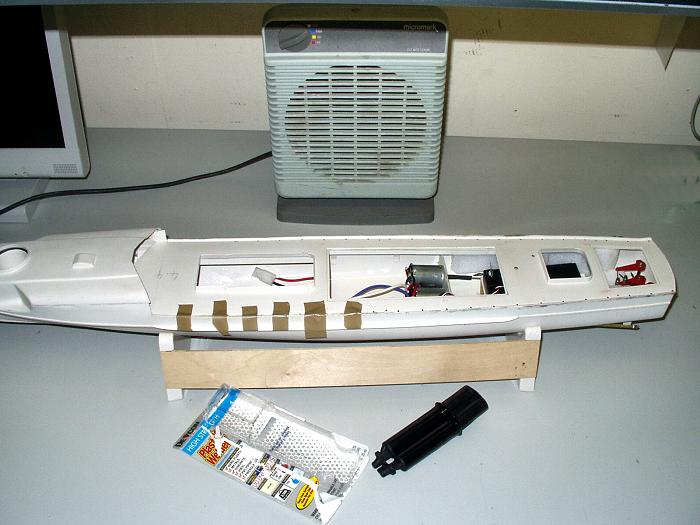
The model was inverted after
each section was glued to encourage any excess glue to run back into the
joint. This also allows any gathering heavy vapours to escape. 'Plastic Welder goes 'off' quite quickly but not as quickly as the Quantum epoxy which I liked, more working time. |
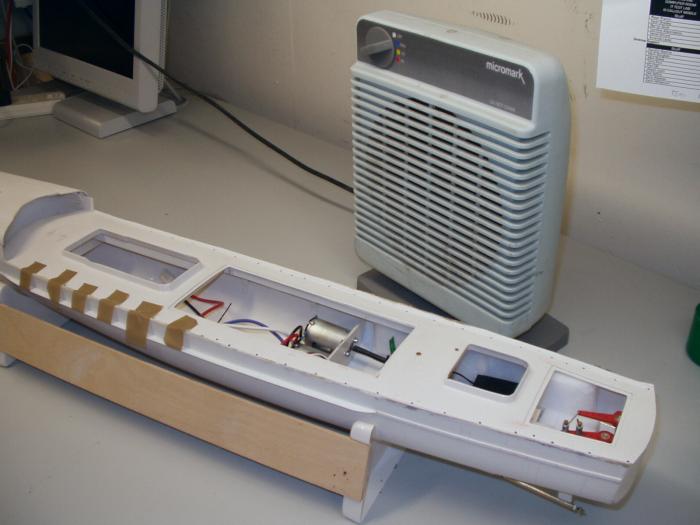 |
The workshop was really starting to hum with the fumes now as the fan on cold was set over the model to keep everyone from getting too high! |
 |
The end result is a messy but
absolutely solid joint, it will easily clean up. On reflection, if the two of us had worked together, we could have made the joint with the 'Plastic Welder' each working down each side and then putting it in place and taping each side - we would then have had enough working time..... but this way works well to, if not a little more strain on the nerves! |
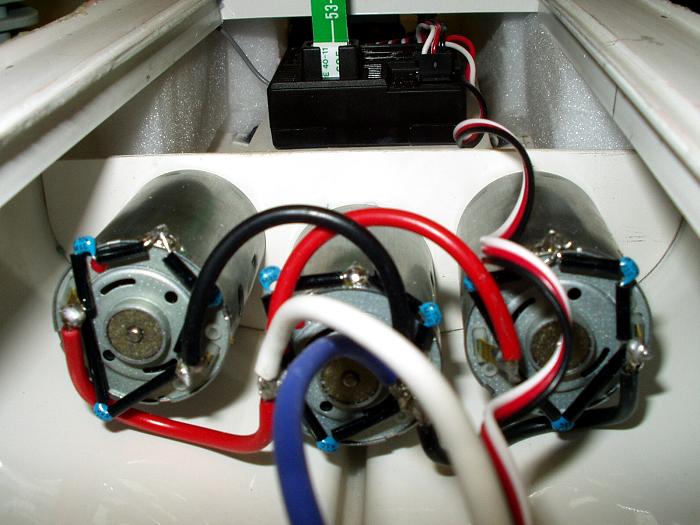 |
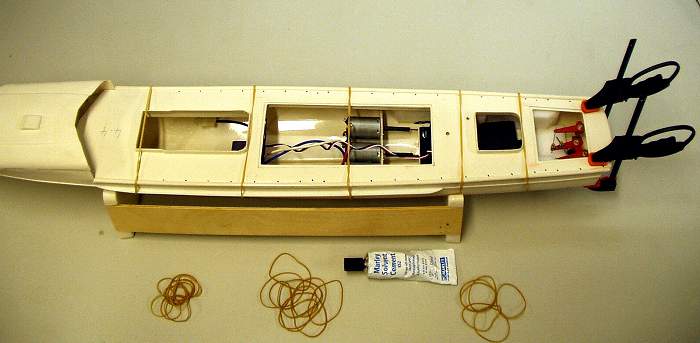
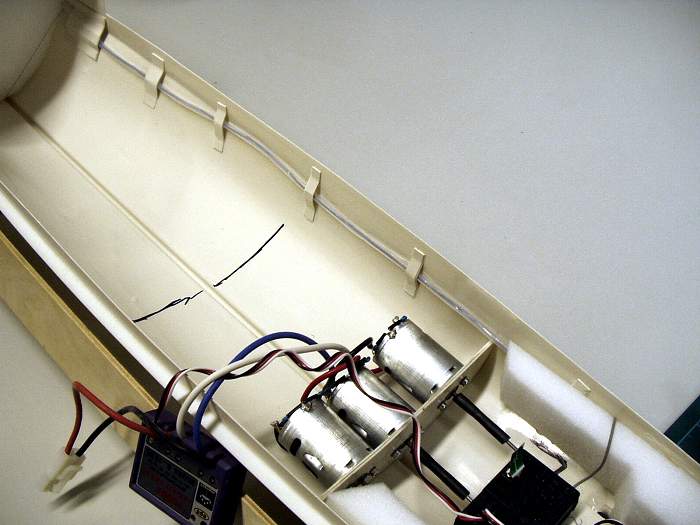
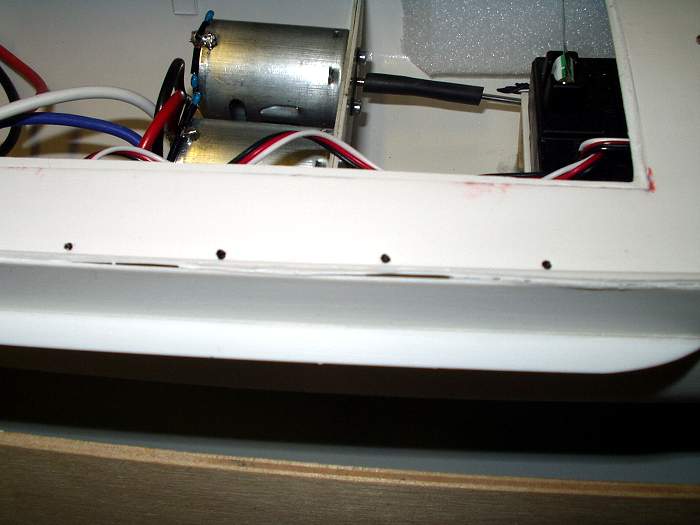
The final view of the S130 from the cockpit looking into the engine room. |
 |
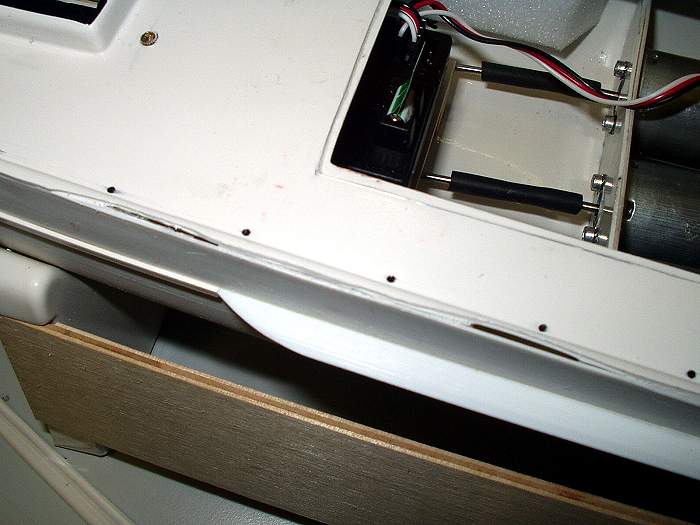
Standing on the engine room hatch looking aft to the steering gear. |
 |
Sorry if this is a bit
disjointed this week, I'd doing bits to the boat and updating this page
while glues sets .....
...... and some of these glues are real strong! |
|
Email
from another S130 builder. Hello Martin, I have just finished reading your article on the S130 and to say I nearly had hysterics would be an understatement. The reason for this hilarity is that I built my S130 back in May/June/July !!!!! this year and reading your article brought back all the nightmares I had at the time I built mine, thank god other people had the same problems with this damn kit that I had. To this day I have still not managed to work out the instruction on making the Transom/Hull meet in a "very sharp K" in the end I did nothing in the way of filling but I can see now from your photographs what I was supposed to do! The one piece of good news I can give you is that when the model is finished and on the water it runs brilliantly, especially when all three motors are brought on line. The way I have wired my model is by using a single Electronize ESC and combining it with a wiper arm on a copper board run by a servo driven off a "Y" lead going to the ESC. This gives me the central motor for about two thirds of the throttle stick and then when the wiper servo makes contact the two outer motors kick in and boy does it go! (does any of that make sense, I was just too tight to buy two Robbe ESCs) Using this system instead of running all three motors all the time gives me at least double the running time from my bog standard 8.4v NiCad. Incidentally I also used ABS pipe cement from my local plumbers merchant for all the main deck/superstructure joints and the hull is still quite firmly attached to the decks despite having taken one or two "thumps" from a fellow boaters timber MTB. The only damage suffered to date is that I have managed to "launch" both of the deck torpedoes after being hit by the "enemy" and on the last occasion I had to send my dog in to retrieve one, much to my and everyone else's amazement she jumped in and brought the torpedo back from about 15ft out in the River Avon at Stratford which is where I sail. Well, best of luck with finishing the model, I can assure you the worst part is over and the rest of the build is pretty plain sailing! Regards Michael (a formally equally frustrated S130 builder ) |
|
|
Well all this just my opinion, but what do I
know! |
|