|
Ron's Bloopie |
|
|
|
HEEERE'S BLOOPIE ! |
|
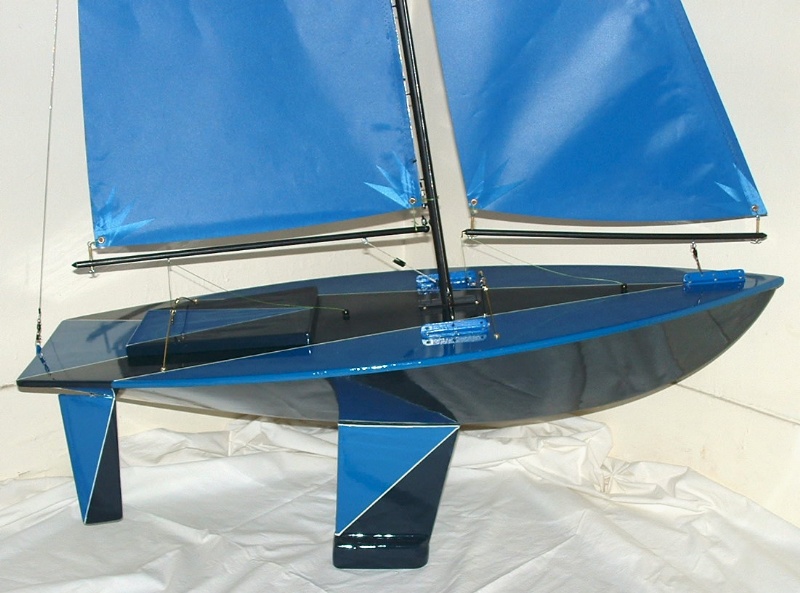
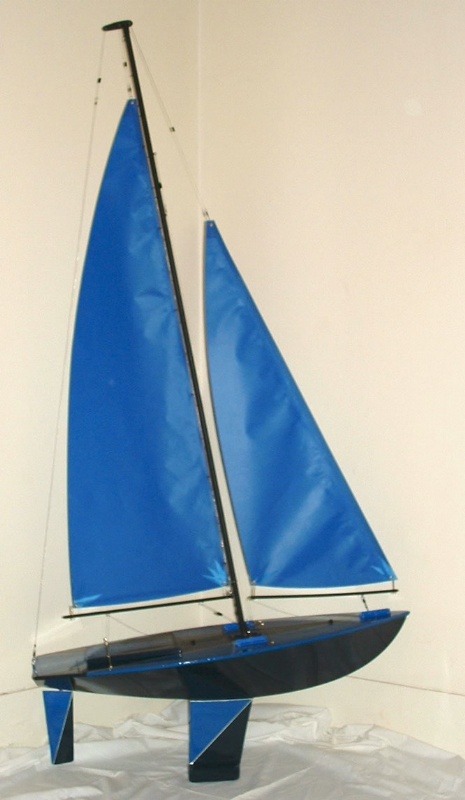
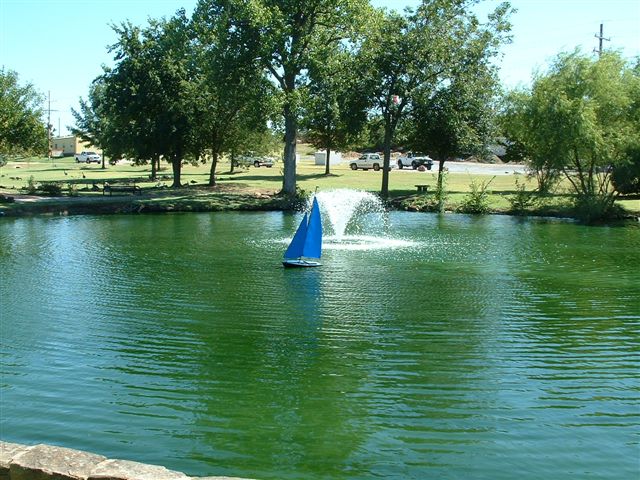
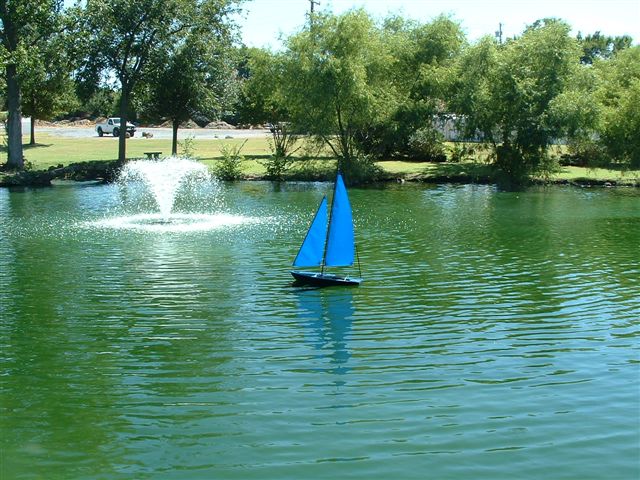
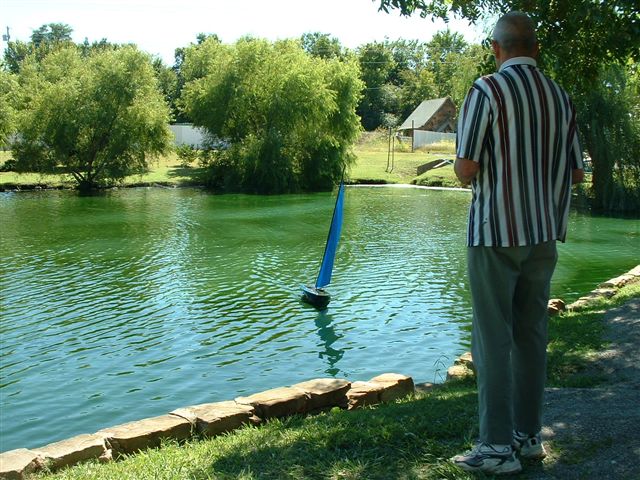
After completing the Rubber Ducky, I got back to work on my Pea Pod Sailboat. I started it 20+ years ago, I assembled the hull then it sat in one garage after another, move after move, collecting dust. Well I finally finished it yesterday. If you're not familiar with the Pea Pod (not many are) it's taken from the April 1973 issue of Model Builder Magazine (long out of business), with a modification article in their Nov. 1982 issue. It's 36"l x 15"w x 72"h and weighs out right at 10 lb. loaded. The hull is kind of unique; it's "stitch & glue" construction, made from 4 pieces of 1/8" "door skin" plywood. You start by cutting out the deck (the ply cuts with a utility knife) then mount it to the building board by nailing a strip of ¼" x ¼" spruce along the edge of and through the deck into the building board. Next you cut out 2 hull halves, exactly the same. Clamp them together, and drill small holes, every ½", along the keel edge and sew them together with carpet thread, through the holes you just drilled. Now comes the fun part, spread the other edges apart and press them down on the deck and push so that the edges are tight against the nailed down spruce. Then weight it down, to hold it in place (I used ratchet type tie down straps to hold it). Next fill the joints, where the spruce, deck and hull meet, with thickened epoxy, let harden. Brush a couple of coats of epoxy over the stitched keel joint, let harden, then sand off the threads. Mount the ¼" ply keel, through the hull and epoxy to the inside of the deck. Take out all the little nails releasing it from the building board. Epoxy the rudder block inside the hull. Place a piece of the 1/8" ply at the transom location, trace shape, cut out and epoxy it in place. Pour a lot of thinned epoxy inside the hull and rotate the boat to coat all of the inside joints then set the hull so that the excess epoxy pools around where the keel meets the hull, let harden. A final exterior coat of epoxy, over all, to seal the wood and that's basically it. I painted her the blue colour scheme, hence the name "BLOOPIE" (blue pea, get it?). I set up the rigging, pretty much, as in the plans (changing fibreglass tubing, from a kite shop, for the original wood dowels) and modified it some to fit a set of 600 sq." sails I got for a really good price. I'm sure that as I sail her, I'll be doing some tweaking here and there. Bloopie is my first scratch built boat and I think she turned out pretty good. She should be sturdy as she banged around for 20+ years with no damage. Here are a few pictures so you can see the done deal. Now it's time to start on my "Footy" sailboat, where does it all end?
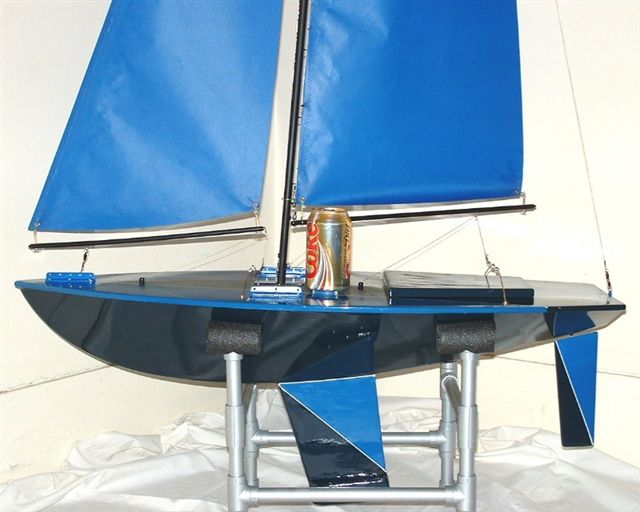
Here's a photo with the
coke can, for scale. If anyone shows an interest in building a Pea
Pod, give them my e-mail, I've got the complete magazine articles on PDF
and can forward them. Glad you liked her. |
|
|
|
September 2005 |
|
|
|
|