|
|
|
|
|
|
|
SAIL or SINK ! Over the last fifteen years or so I have constructed several scaled (1:50) model tall ships among them being The Charles W Morgan, The Great Harry, Thermopylae and The Pandora. They were all built from kits purchased from model shops and they were for display purposes only. None of them were built to sail. As this is the last time I shall ever build another model tall ship I have decided to make The Charles W Morgan again but with a significant difference. I will not be buying a kit as much material as possible will be supplied by myself, see specs below. Also every part e.g. yards, yardarms as well as any fittings on deck will be fully jointed and function but the most important difference will be that it will sail, or so I hope it does. The test run on completion will take place in a wild life pond near to where I live. If I am successful, all well and good, but if the ship sinks when I launch it then tough. Plans. Materials. I do not have any
information about ballast for the ship so again everything in this
department will be guess work. |
|
|
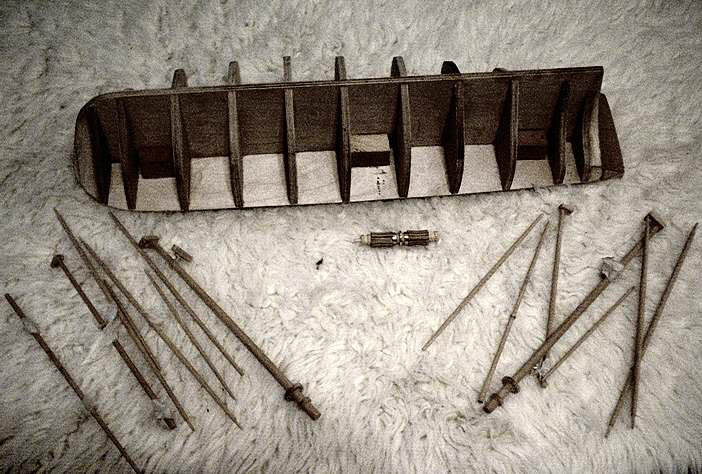
Photo of some of the materials
used.
|
|
|
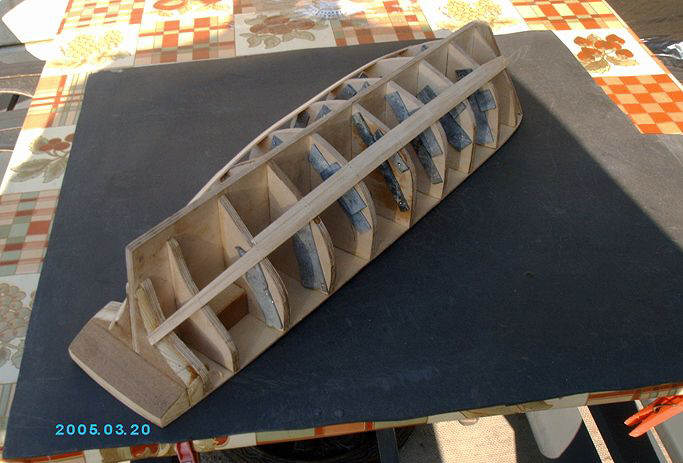
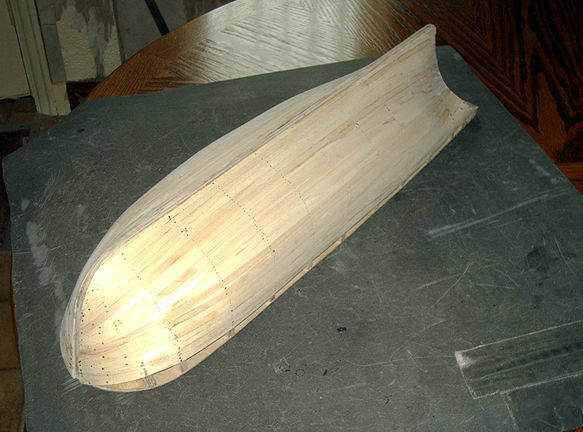
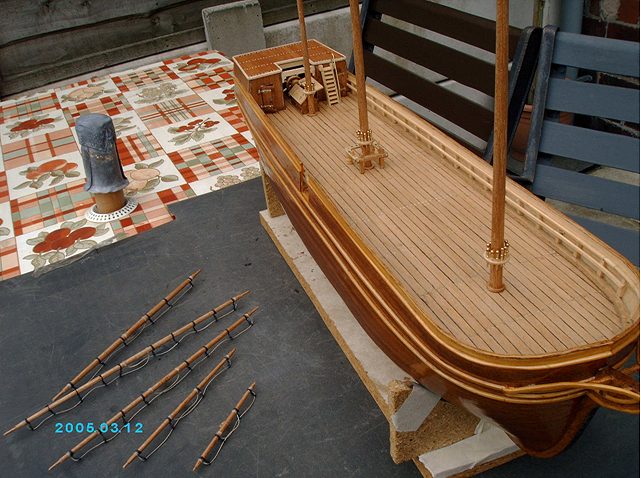
FEBRUARY 2005 Work starts on the false keel. No problems here cutting and shaping the plywood to form the false keel and deck. Once all parts were in place and the edges chamfered to take the first layer of hull planking I decided to see how it would float. After securely wrapping the unit in polythene I placed it in a bath full of cold water. Oops it turned over which is what I expected it to do. Ballast required but what could I use, at this stage I hadn’t a clue. There was no rush to solve the problem as I had plenty of other things to do such as plank the deck. Using veneer of 1mm thick I cut a sheet into 6mmwide strips with each strip being reduced to 130mm in length. Any length not to these specs were thrown away as there had to be no gaps between the strips when glued into position. All edges were coloured black using an indelible marker to give the effect of tar sealing between the planks. March 2005. Still not solved the problem of ballast and planking to the deck was finished. The next stage should be first stage planking to the hull but I will have to put this on hold until such time as I am ready. Meanwhile I decided to buy extra time by dowelling the planking of the deck.2 1.5mm dowels per plank width set at 130mm intervals, which should keep me out of trouble for a while. First of all I had to make a dowel maker of 1.5mm diameter and 2 hours later I was ready for action and making hundreds of small dowels and drilling holes in the deck. Once the Glue had set the waste was trimmed off and surface smoothed down.
|
|
|
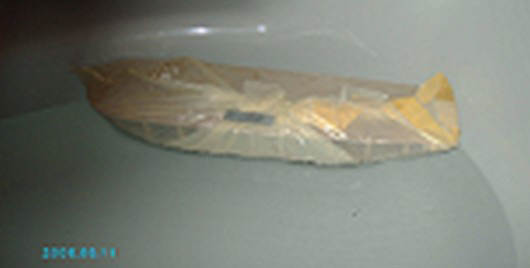
April 2005. Still nowhere near to solving the problem of ballast so I continued to make some more parts and fittings starting with the masts. Unfortunately the hard wood I was using was of a very poor quality and was proving difficult to taper the wood down to the correct diameter (very weak and soon snapped).A slightly thicker taper solved the problem. The scrap lead flashing I found in my shed could be put to another use besides the vats on the Rending furnace. BALLAST for the boat itself. Cutting it down into equal widths and lengths the lead was nailed to the sides of the plywood sections of the false keel. Back to the bathroom for a test run. It worked, steady as a rock. Even after swishing the water about the hull remained upright and soon steadied itself. My only doubt was the weight of the ballast; would it be too heavy or too light as progress on the boat neared its final stages? |
|
|
MAY 2005
|
|
|
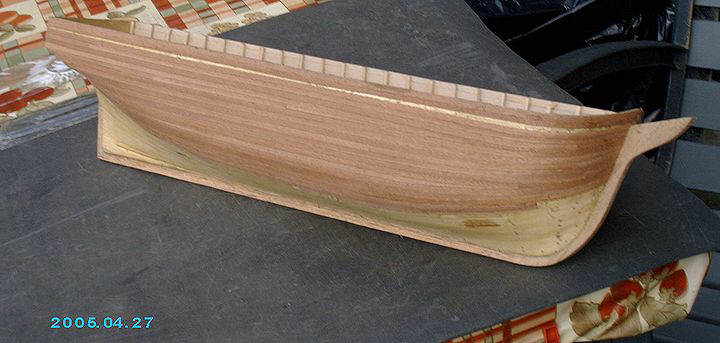
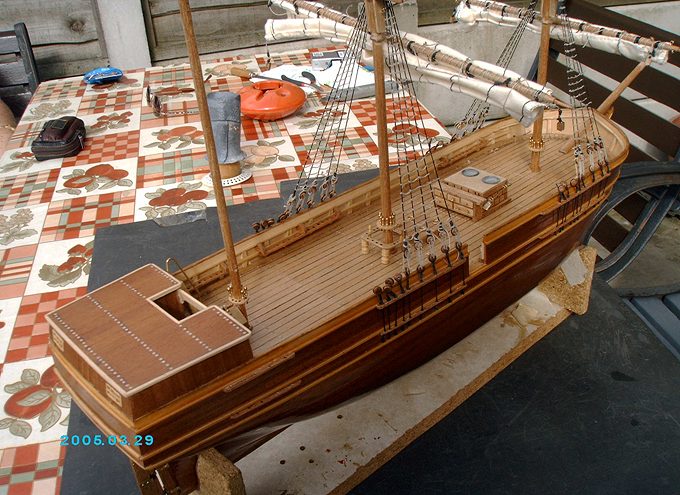
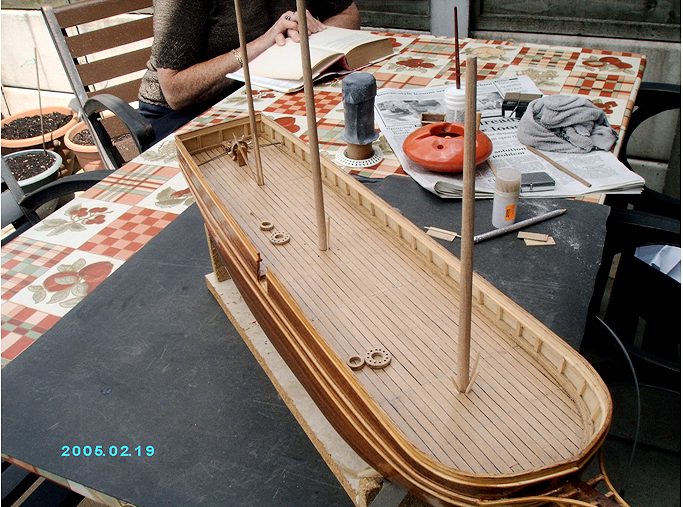
Both first and second layers
of planking are finished and there are no gaps to fill in on either layer,
I never have any trouble with these operations. Holes are drill to
accommodate the three masts. |
|
|
|
 |
 |
 |
|
|
|
|
|
|
|
|
|
|
|
|
|
|
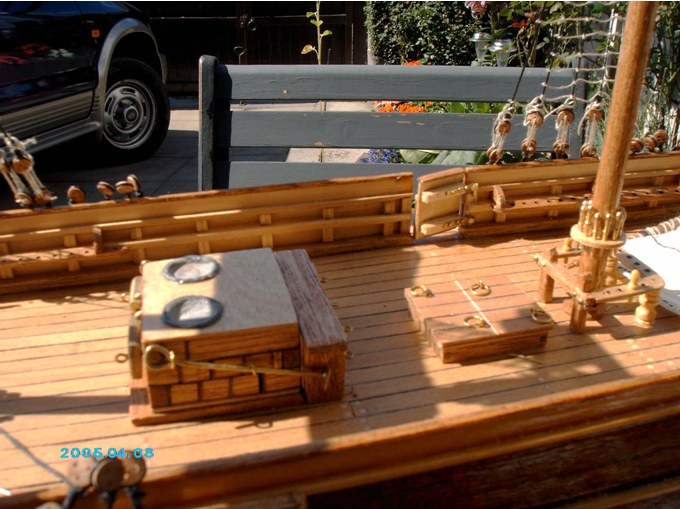
The windows to the rear of the hurricane house are jointed with clear polythene as glass. The units are inserted and fit flush though they do not Function. |
|
July 2005. |
|
|
|
|
|
Boom and gaff. The brass
fittings are set into a rebate, glued and nailed Dowelling to one of the
canopies. In place. |
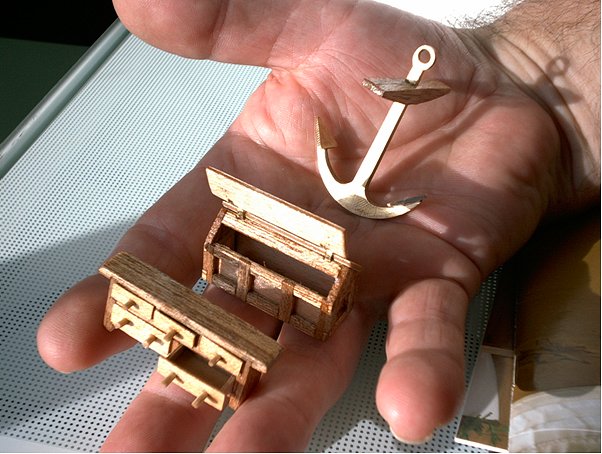
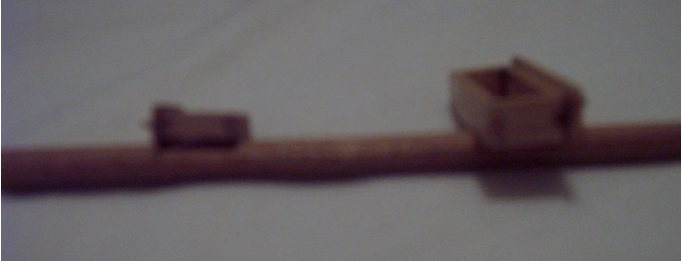
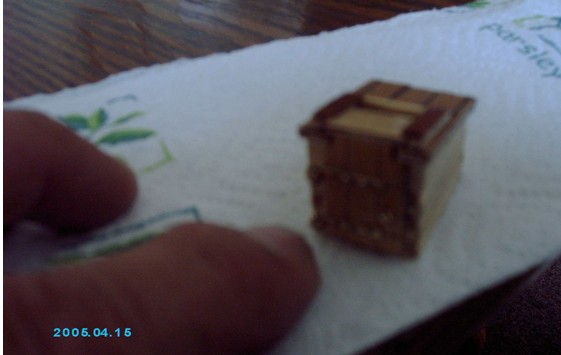
Blurred photo of two different types of drawers. |
|
|
|
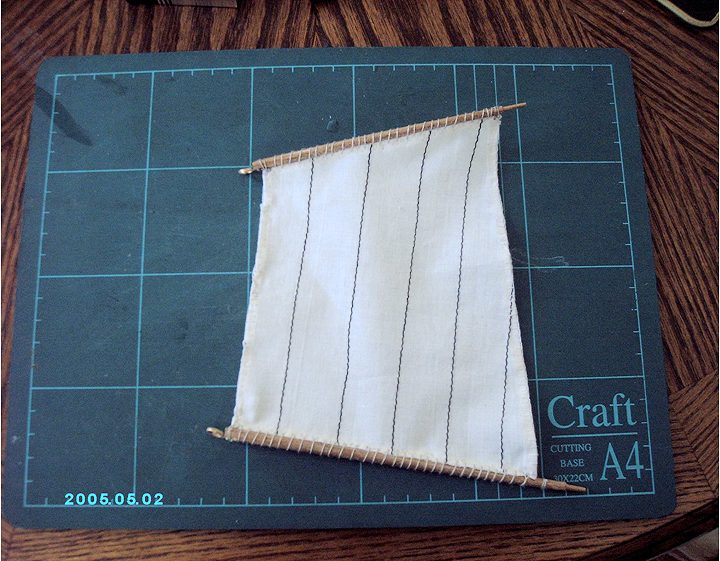
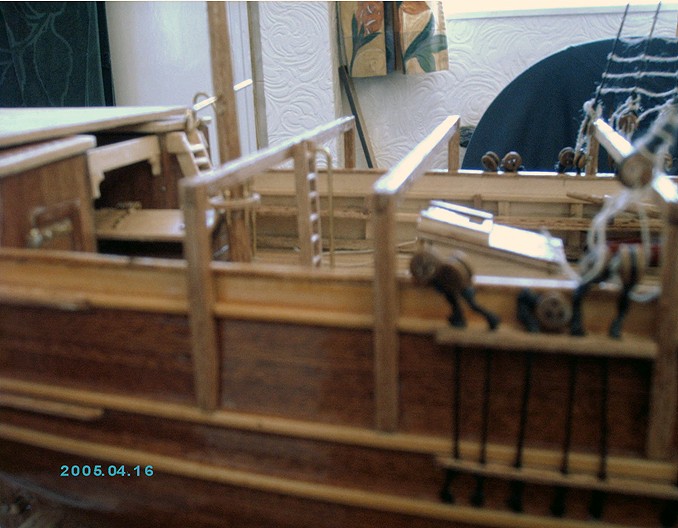
| Rat lines, yard arms and yards to main and fore mast |
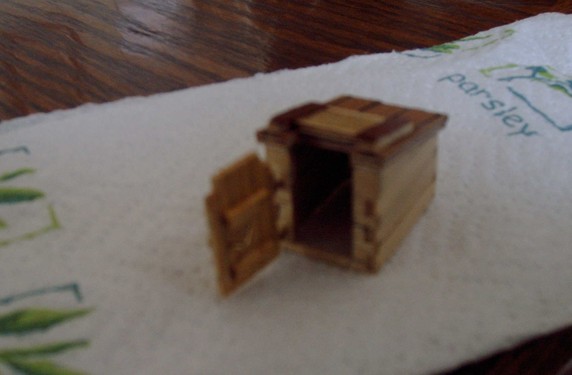
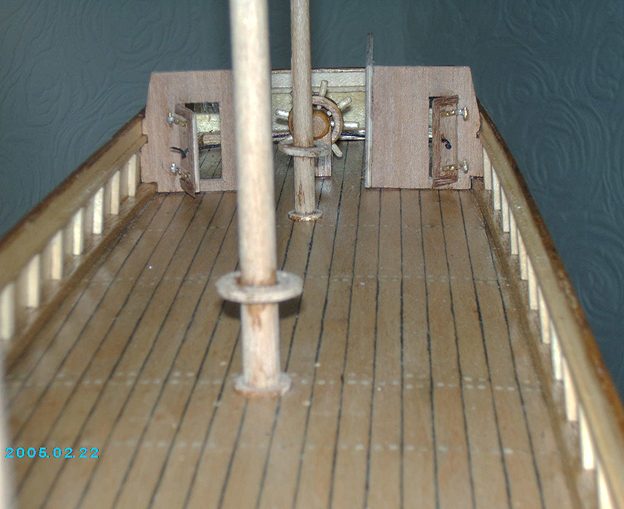
Above: Fore companion way- door actually locks, a
primitive method -
It works. Sliding section to canopy to give extra headroom. |
|
|
|
|
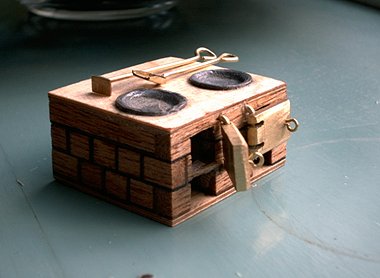
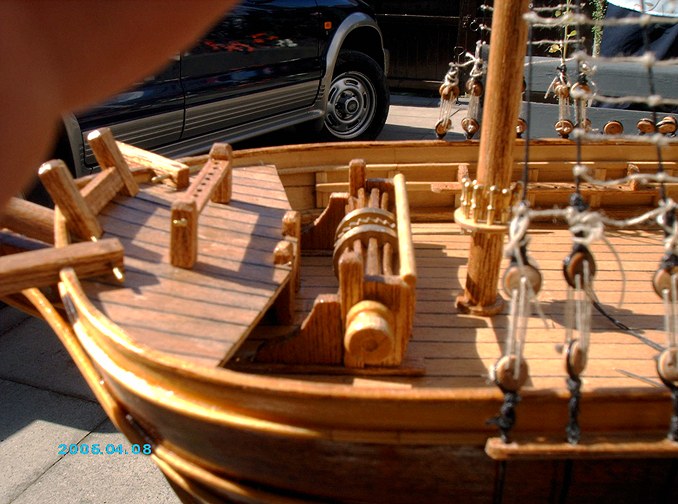
Close up showing rending furnace complete with stoking tools. Workbench, ratlines and hinged gate.
|
Partly finished Windlass-still to do- ratchet and brakes. At this stage I haven’t worked out how to make them.
|
|
|
|
|
After seven months work all seems to be going well but the big test will come when I test the boat for buoyancy in water. I have every confidence of overcoming any difficulties. |
|