|
Roberts RTTL ( Slipway's Mini Kit ) |
|
http://www.modelboatmayhem.co.uk/forum/index.php?topic=7644.0 |
|
|
|
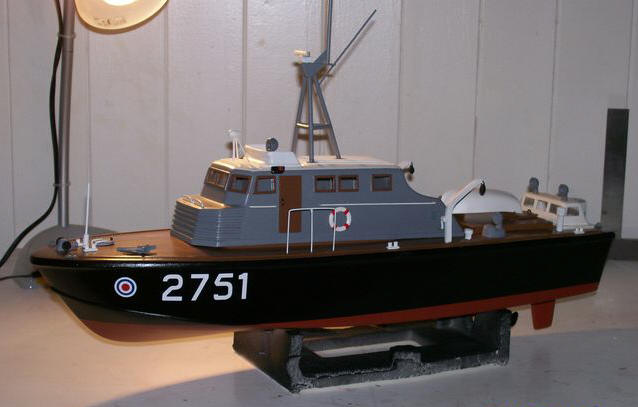
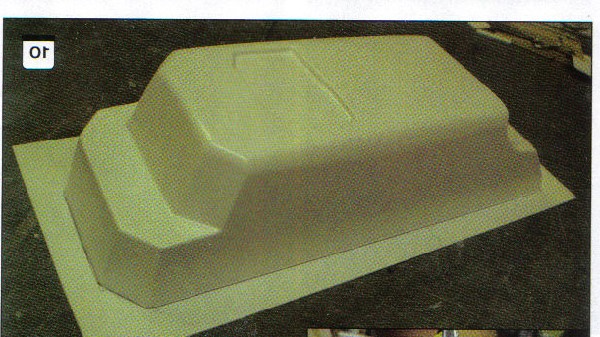
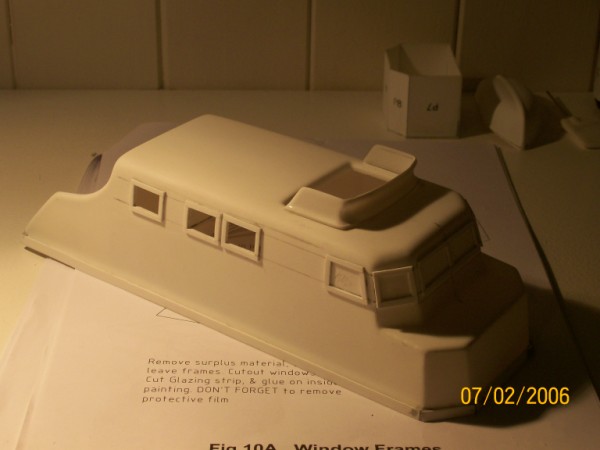
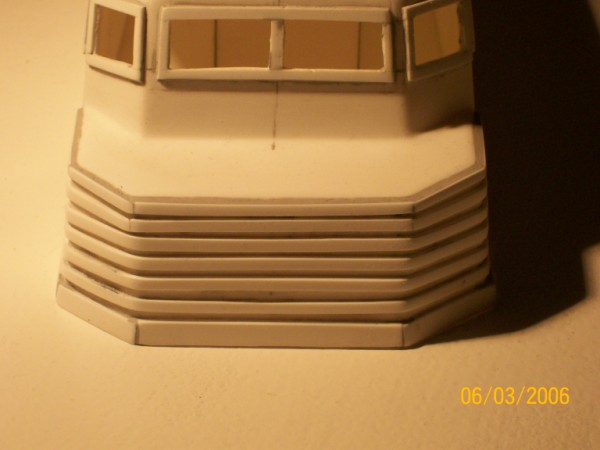
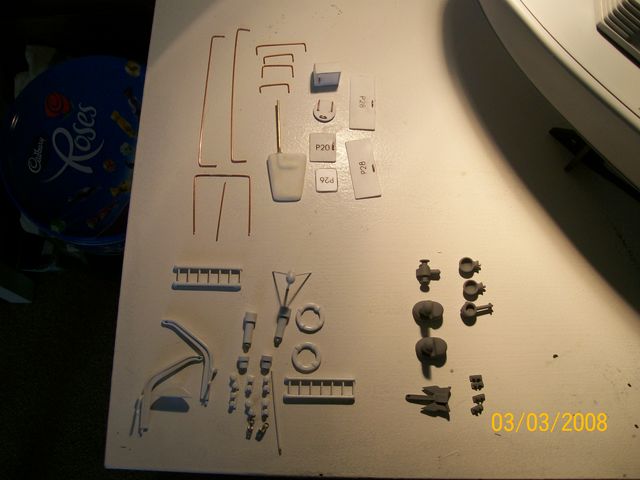
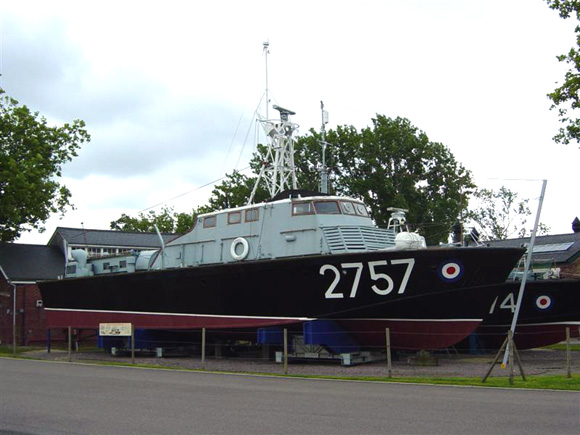
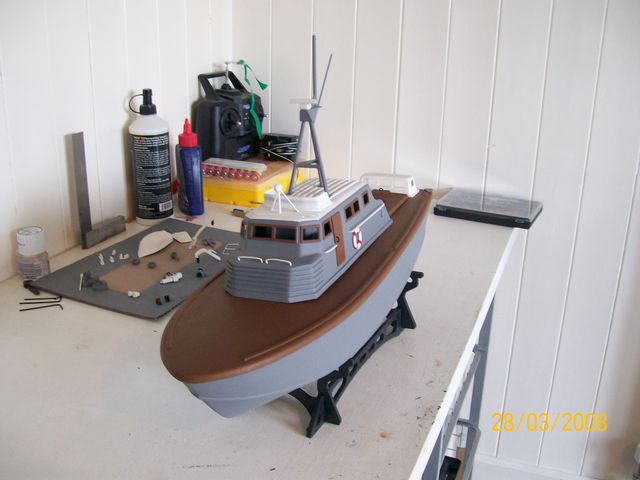
Hi everyone, As I was a good lad this past year, the Birthday fairy gave me a RTTL Vosper kit. I had told my partner I'd like this and since the tragic demise of the Airfix lifeboat ( no thanks to the cat!) and this seemed to fit the bill as my current Bismarck build has a fittings launch sometime in latter next year. So having never done a kit of this calibre I started. Luckily, there had been a kit review by Terry Small in Modelboats a few months ago. So armed with the plans, instructions and kit set out. I started having some issues with the instructions, ie. clarity of drawings, both plans and instructions, typos in the instructions and illustrations of mouldings. I approached Modelslipway.com and they said it was not a kit for beginners and spoke to me via email in a business like fashion, as they do. Not wanting to be dismayed I plunged on rereading and rereading, driving the missus nuts, oh and threw the cat out. Sooo... I still have concerns about the mouldings, the following photos illustrates my concerns. The first photo shows the mould for the superstructure I received. |
|
|
|
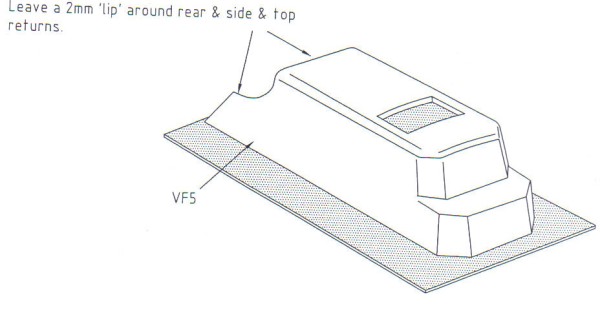
Can't exactly see your problem Robert. As long as you cut tight to the edge that meets the deck. Leave a 2mm lip to rear, side and back where you cut out at the rear of the superstructure and also a 2mm lip on the windbreak moulding you should be fine. If in doubt do the same as Terry Small in Model Boats. - DickyD |
|
|
|
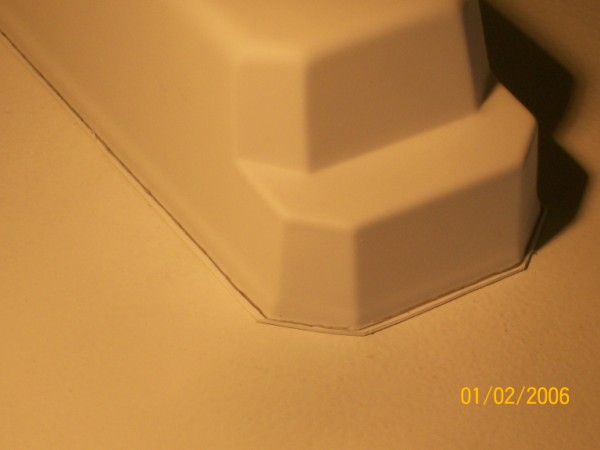
Hi Robert Leave the raised moulding around the bottom it is supposed to be there. The strip you attach is 6mm high but looking at the photo it is more like 1mm thick not 3mm, it might even be 0.5mm, I cant tell as I do not have the instructions or drawing just the magazine.- DickyD |
|
Hi Robert The ridge on lower part of the moulding is some times added for the moulding process. This is done to prevent webbing occurring in the corners of the mould. As DickyD Stated recheck the overall height of the mould against the plans and adjust accordingly. - Rob. Powered Boat Mouldings
|
|
Hi Rob, Thanks for that info, think I have this moulding part sussed, I have only built plastic kits before taking up hobby again this year. I am also doing the Hachette build of Bismarck, which is plank-on-frame. the Bismarck is going well as you can see by mr. potatohead surfing, that was sanding down first layer of planking. the build is going well, but has a poor reputation I understand. I for one, have had no problems. Doing the RTTL Vosper was a birthday gift from the missus and am now proceeding ok...I have windows done and cut out, spray ails attached and preliminary RC install done. may check out the propulsion system over the holidays. will post pics soon. - rem2007 |
|
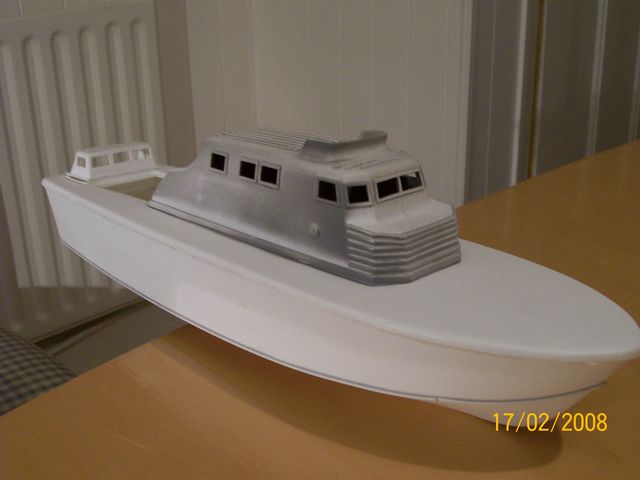
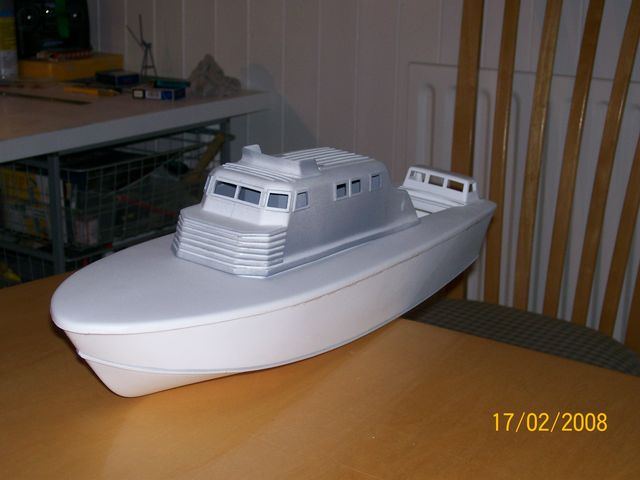
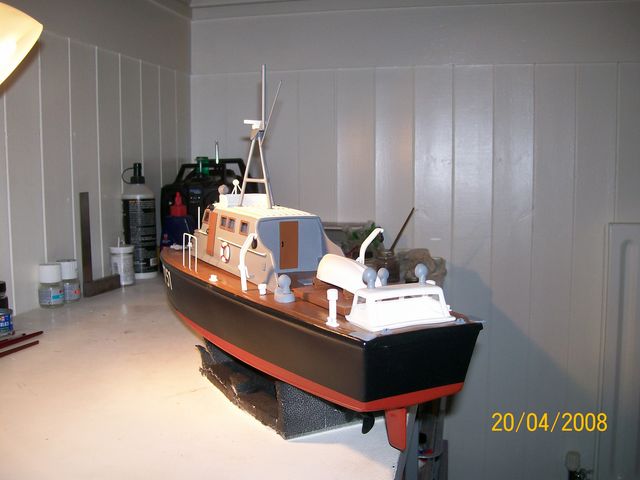
Burning the midnight oil again, hey wasn't there a band from Australia called that! anyway here are the promise photo. any constructive criticism would be gratefully accepted....note to self, must build stand. - rem2007 |
|
|
|
Hi all and happy new year. It's been a rather difficult few weeks around mine, as we lost our mother-in-law just before Christmas, but still managed the presents, tree and dinner for the kids. But getting back to the build this week and should have some photos next week, just about to do initial RC install and tub trials. Hope all is well with everyone. - Robert |
|
|
|
I'm going with the exact drive system as described in the build review in Model Boats... November 07, odd saying o7 anyway, using supplied motor from kit, a condor 10/2 esc supplied by ACTION and 7.2 battery pack supplied by the Component Shop, never been to Wales yet, sounds nice. Getting a lot of guidance from the review and others here.....cheers for your suggestions. Robert |
|
Should get everything fitted this week and give her ago by the end of the
week. got a little sidetracked with new pc and booking a holiday for us,
and no kiddies, yippee...looking forward to some custard apples and
Madeira wine Robert |
|
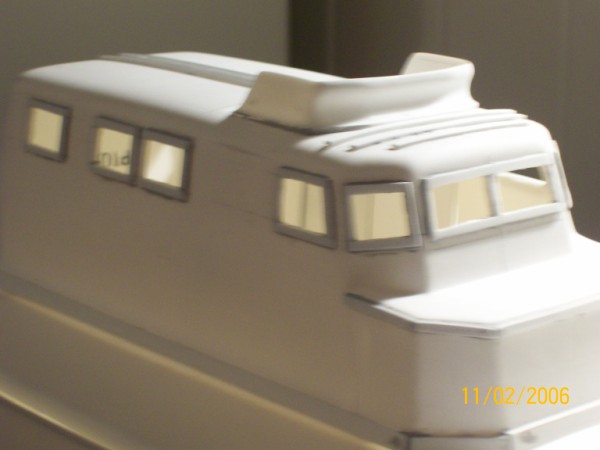
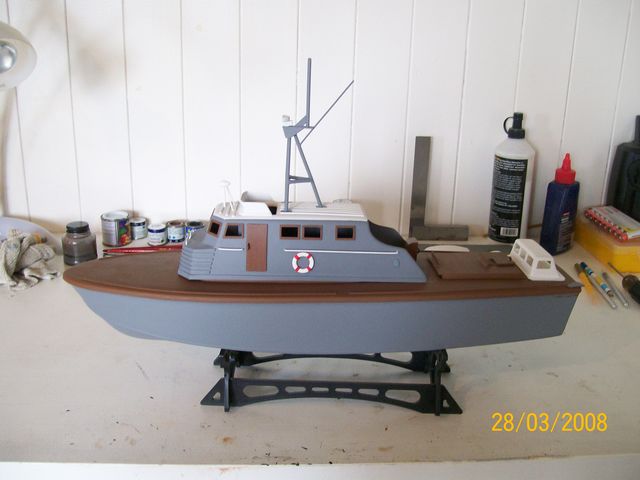
So as promised here are a few pics of the
RTTL vosper, awaiting
sea trials and stand. couple of questions, 1, as there is a retaining
tongue attached inside the cabin it limits space to install windows, are
the windows fitted from the interior or exterior, not mentioned in
instructions, and 2, also not mentioned, are there windows fitted in the
winch house. remember I'm still a newbie!
|
|
Hi Robert
The windows are glazed from the inside. Winch house has windows glazed side and front. Looking good.
|
|
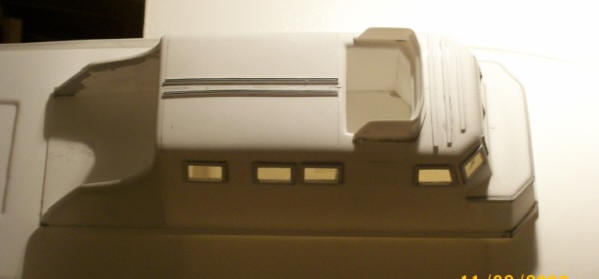
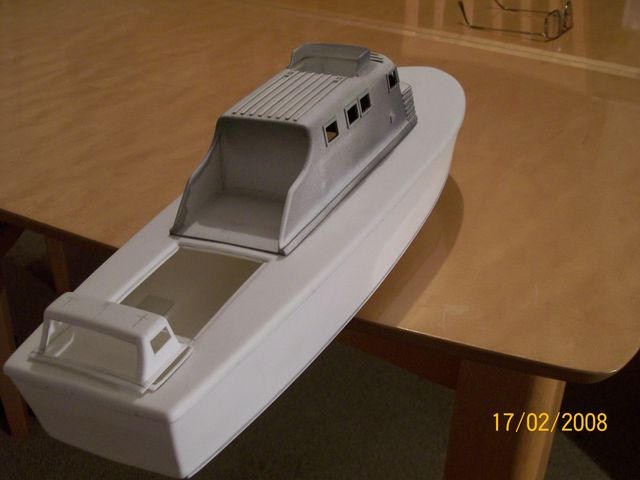
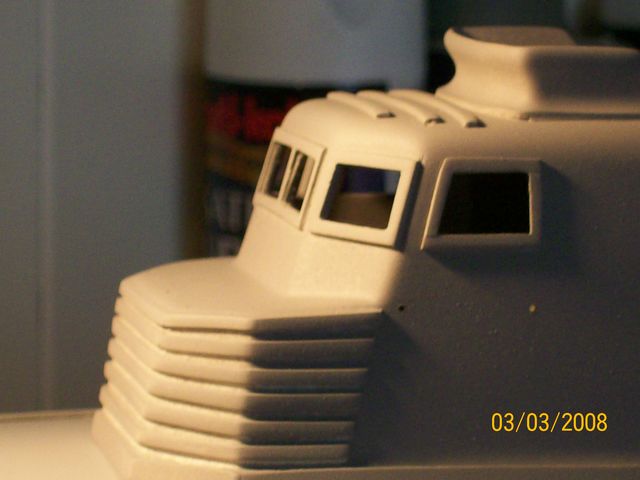
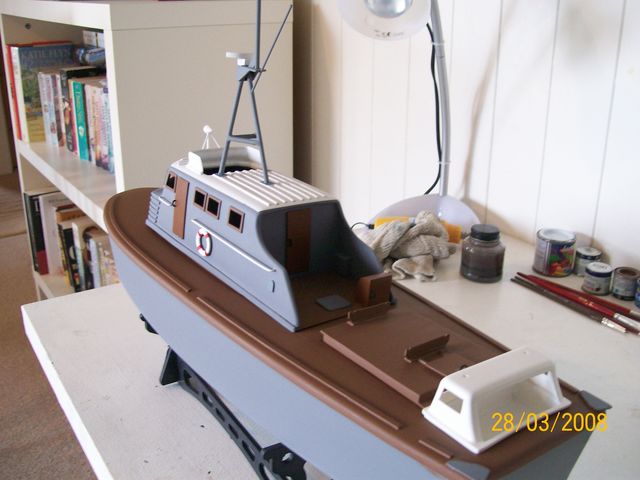
Hi Richard, This first pic shows my dilemma. The locking tongue which is glued in place impedes fitting windows from interior. And I know what your about to say, where there is a will there is a way. And the second photo shows the mast structure not fitted yet. Any suggestions working around this locking tongue? Robert |
|
Robert can you place your glazing over the window openings on the inside
and then hold them in position while you go round the outer edge with
Plasweld.
Failing that, can you get the locking tongue out again, fix the window glazing and then refix the tongue. |
|
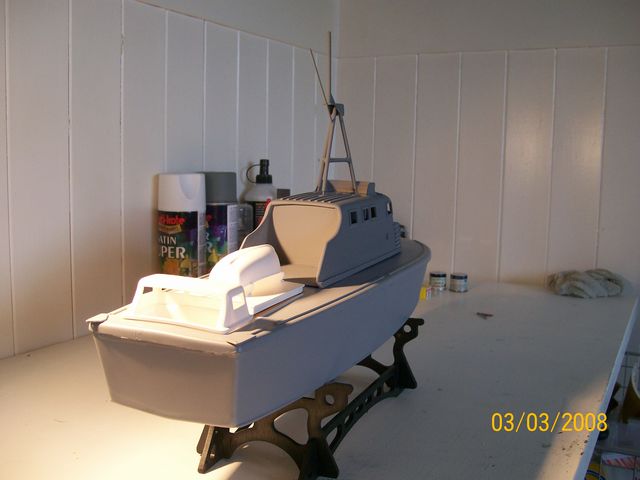
Just did primer coat for hull, looking good so far will do some update
pics and post this pm, could not have done this without the support of
you chaps, cheers!
Robert
|
|
Tipping it out now and they say snow, in March!
Here are the updates I promised.
|
|
That is going to look 'the mutts nuts', Have you tried the RAF Museum at Hendon for information/photographs etc yet? Rex |
|
Hi Rex, No I have not tried that museum, just what I've seen on the web. Have not done much in the past week, had a nasty man flu and our little lad had footy practise, then a tournament, and it hailed! Oh joy, should have majority of painting done next wek, barring no more tournaments. At least they won. Robert |
|
Hi Robert don't know if this is any good to you.
|
|
Hi Rex and Richard, Yeah saw photo of that one in MB from last year kit review which was why I chose this kit. Thanks Richard will check it out. The Bunker is on Sky tonite, good film with Anthony Hopkins as Hitler. Robert |
|
This one is a bit bigger than on the link above , I could not get any
pictures to open so this may help I, I got it of a web site some time ago
, may have been this site. -
Fredy
|
|
Also look at this site you may get some alternative ideas. Fredy http://www.asrmcs-club.com/Picture%20pages/Pictures.htm
|
|
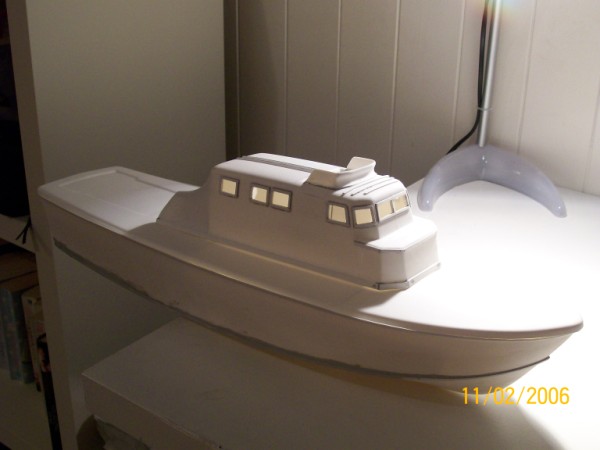
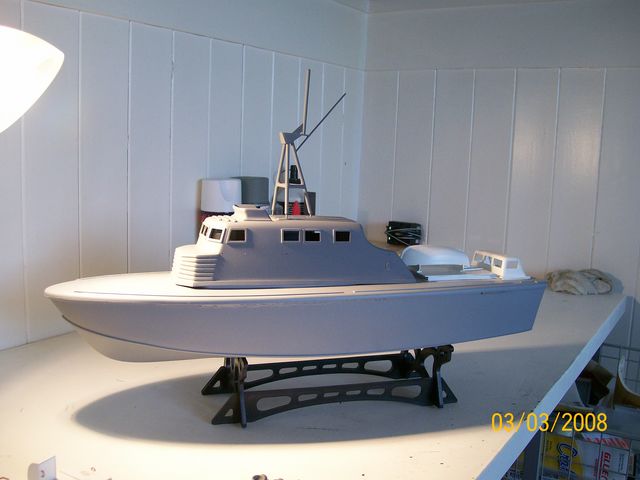
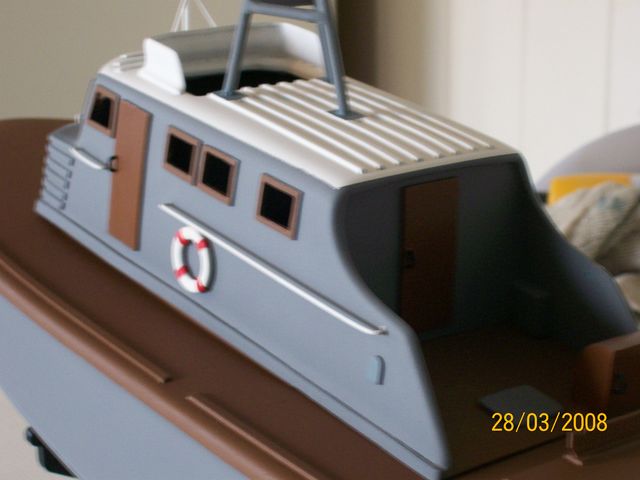
As promised here are the update pics.
|
|
O0Bath tub trials complete,
superstructure complete with windows fitted.
Now to finish painting the hull and adding all the white metal fittings,
a couple coats of satin cote and its off to chase the swans.
Robert
|
|
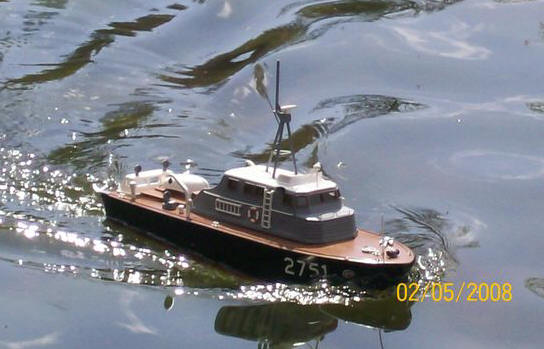
Well, all complete and ready to get her sea legs. Remember, this is my
first kit of this sort since elementay school days and I've learned alot.
Many thanks to all of you for your input, the fine folks at Model Slipways
( esp. Jackie ), Dave at Action, Terry Small for his article in MB and
input and advise along the way. Weather permitting we'll be at the pond this weekend.
|
|
Well, she passed her sea trials for the first 5 minutes and brought her
back in to check if any heat on motor. Nyet! but when I put her back in
for a photo op, the propshaft slipped out of the rubber coupling once
under way. With no one else around I hit panic stations as she was
several feet from shore, luckily the wind was in my favour and blew her
in to shore with nada damage. :embarrassed:Anyway, went to Hobby shop
and purchased bore collar to eliminate this from happening again. Wiil
try again Sunday and get pics Looked mighty fine for 5 minutes though
|
|
Well, as this is am all ages forum
Promotions always mean more work. Bigger and better ! suppose, would like to finish my Flower class now I've got me sea legs back. |
|
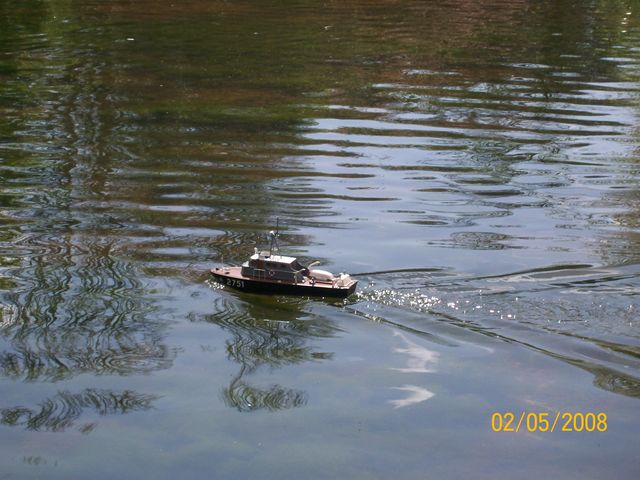
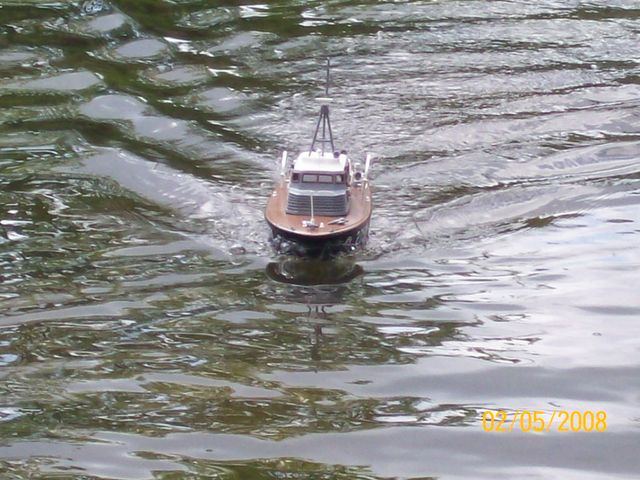
Well thought I'd give her another go as the rubber coupling kept
slipping, so it was replaced with pvc tubing, a little tweaking and off
to another local pond in Paignton as the swan has become down right
aggressive.
She sailed very well. I must admit I was expecting more speed, but nevertheless, I'm quite chuffed. Thanks again lads!
|
|
Attended the Torbay Military Model Exhibition yesterday and enter the
Vosper in the Maritime category and won 3rd.
I was right chuffed and could not have done it without the help I receive on this forum. Thanks again chaps.
|
|
Rob You might try a smaller NiMH pack e.g. one with AA-sized cells instead of Sub-C. My little 20" Swordsman uses a 6-cell Sanyo NiCAD with a Speed 400 and goes like smoke. You don't get as much run-time, of course, but you can't have both! FLJ |
|
Well done Robert, think what you could have won if you had known what you
were doing.
Excellent result, what's next ? - DickyD |
| Back to the Snowberry that is up on the wardrobe....now that I have an inkling of what to do, loads of plastic in this kit. |