| Paula III - Richard Knott |
|
|
|
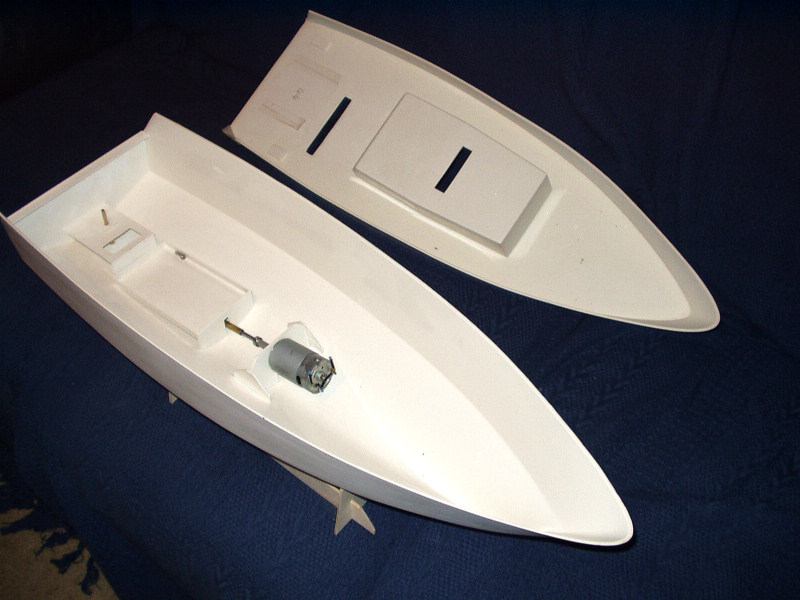
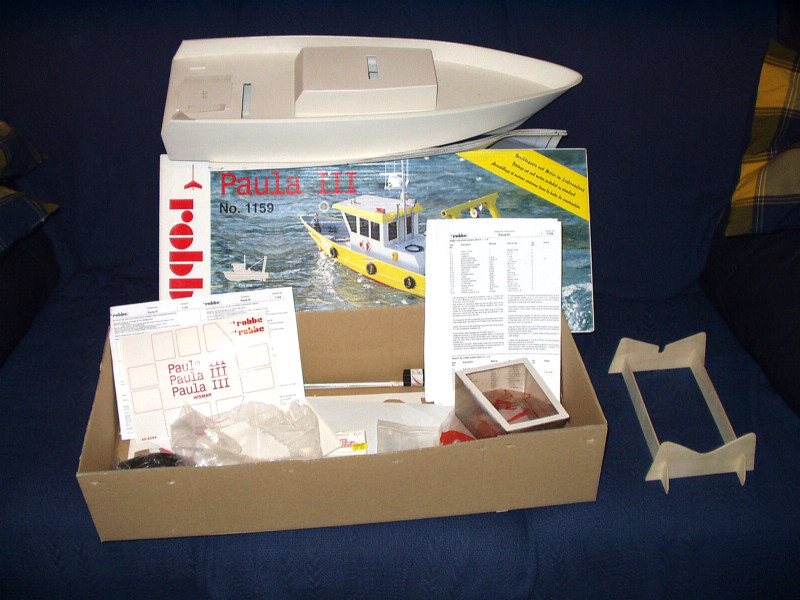
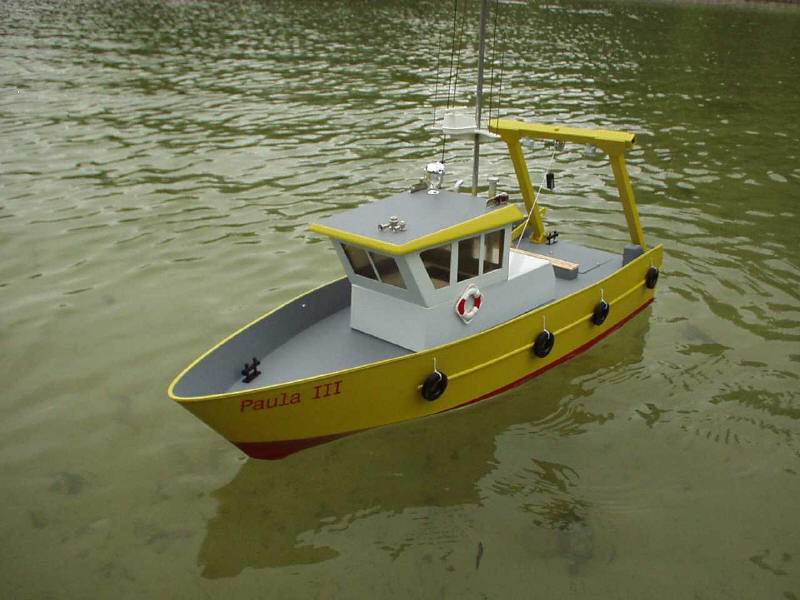
I first obtained the kit from Martin of Mayhem through ebay as a part built kit. I set out to buy a Paula 3, as I have wanted one for a long time. Being a complete beginner to boat building I found this kit fairly easy to build.
|
|
|
|
My next task was to paint the completed hull. |
|
|
|
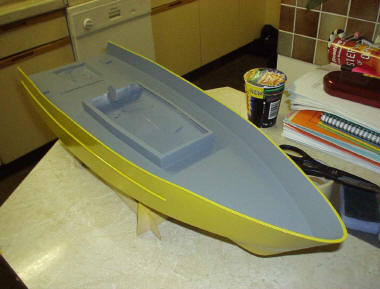
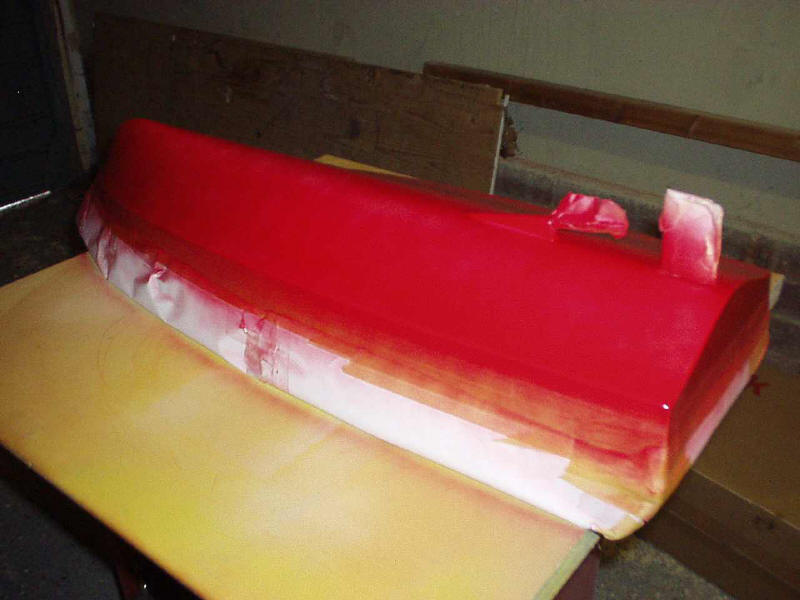
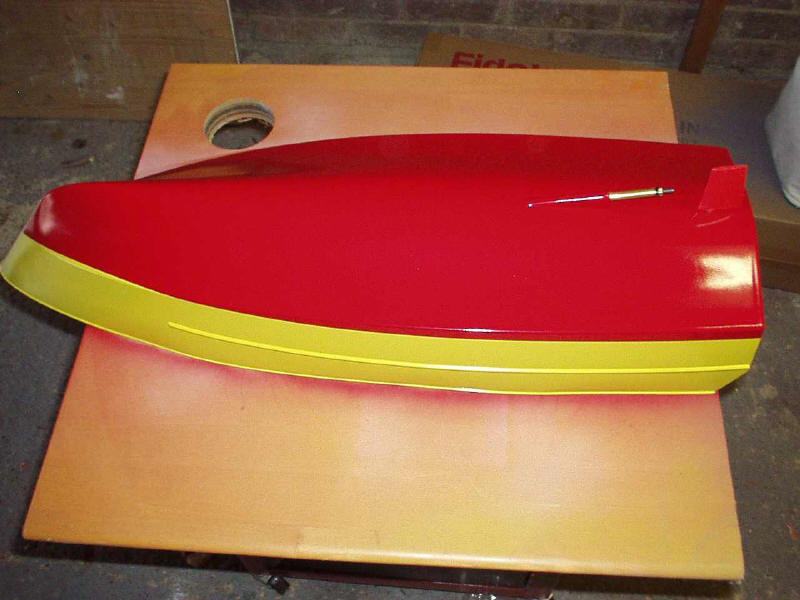
Once I had chosen my colour, the deck was painted grey primer. Once dry the hull deck was masked up to enable me to spray the outside of the hull yellow. The colour was Daytona yellow, the nearest match I could find and again once dried the next job was to paint the underside of the hull with red Mazda paint, again also the nearest match I could find. |
|
|
|
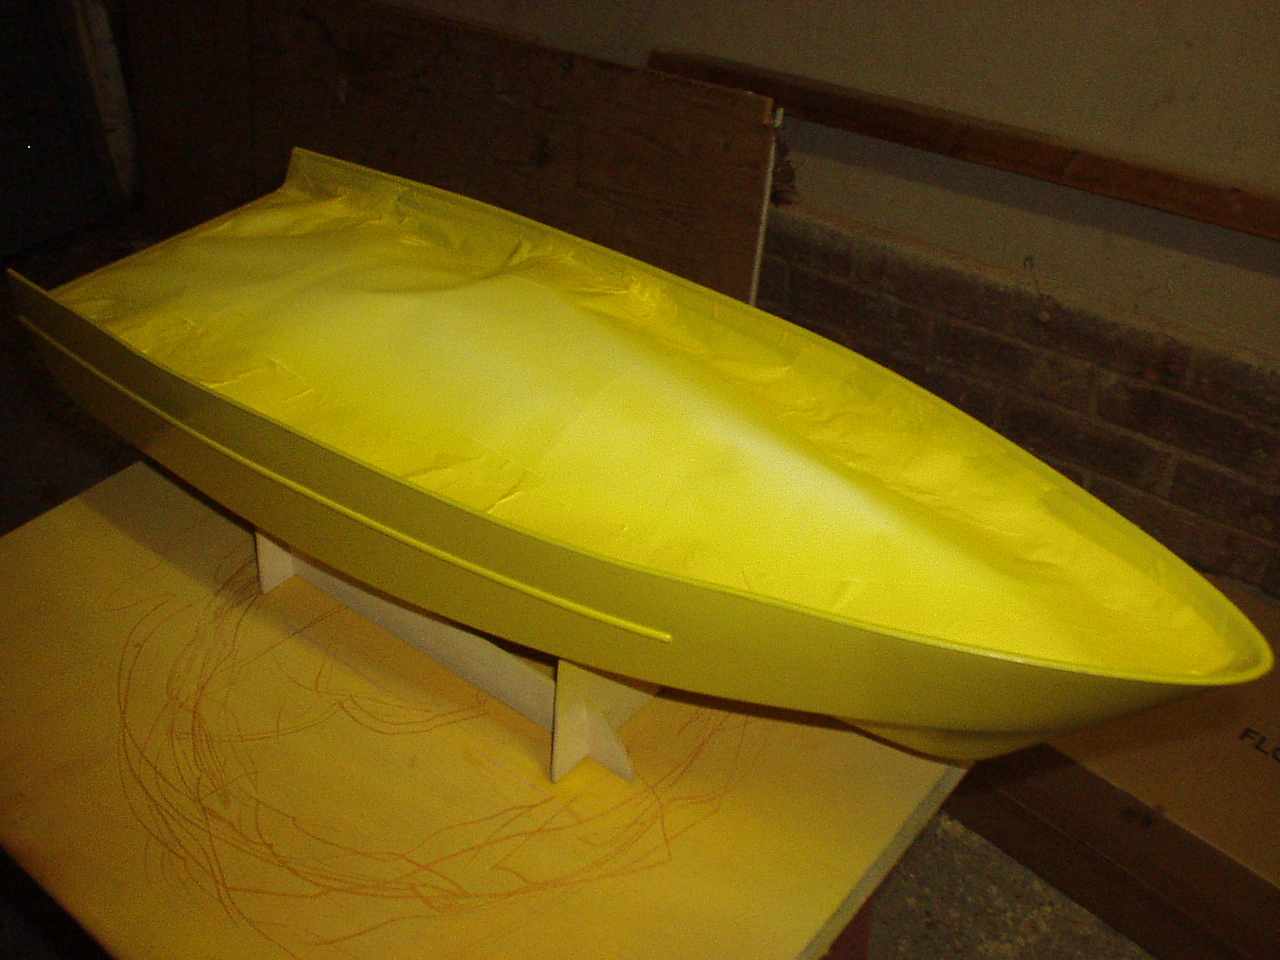
After allowing roughly 7 days
for the paint to harden, the hull was polished to reveal an excellent
finish.
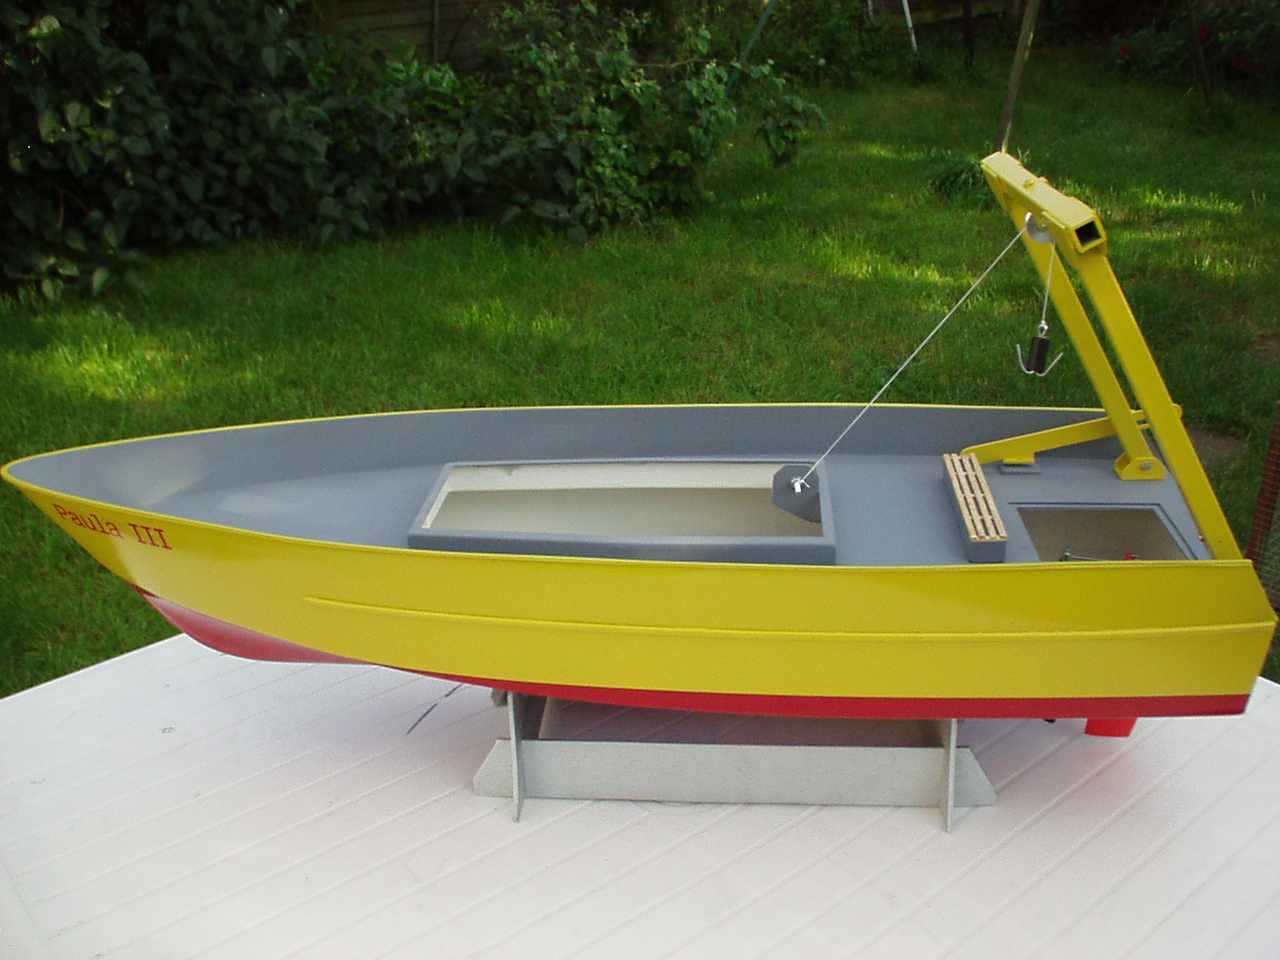
My next step to make the crane by gluing it together using stability express on top of the planes in order for me to get the angle required. |
|
|
|
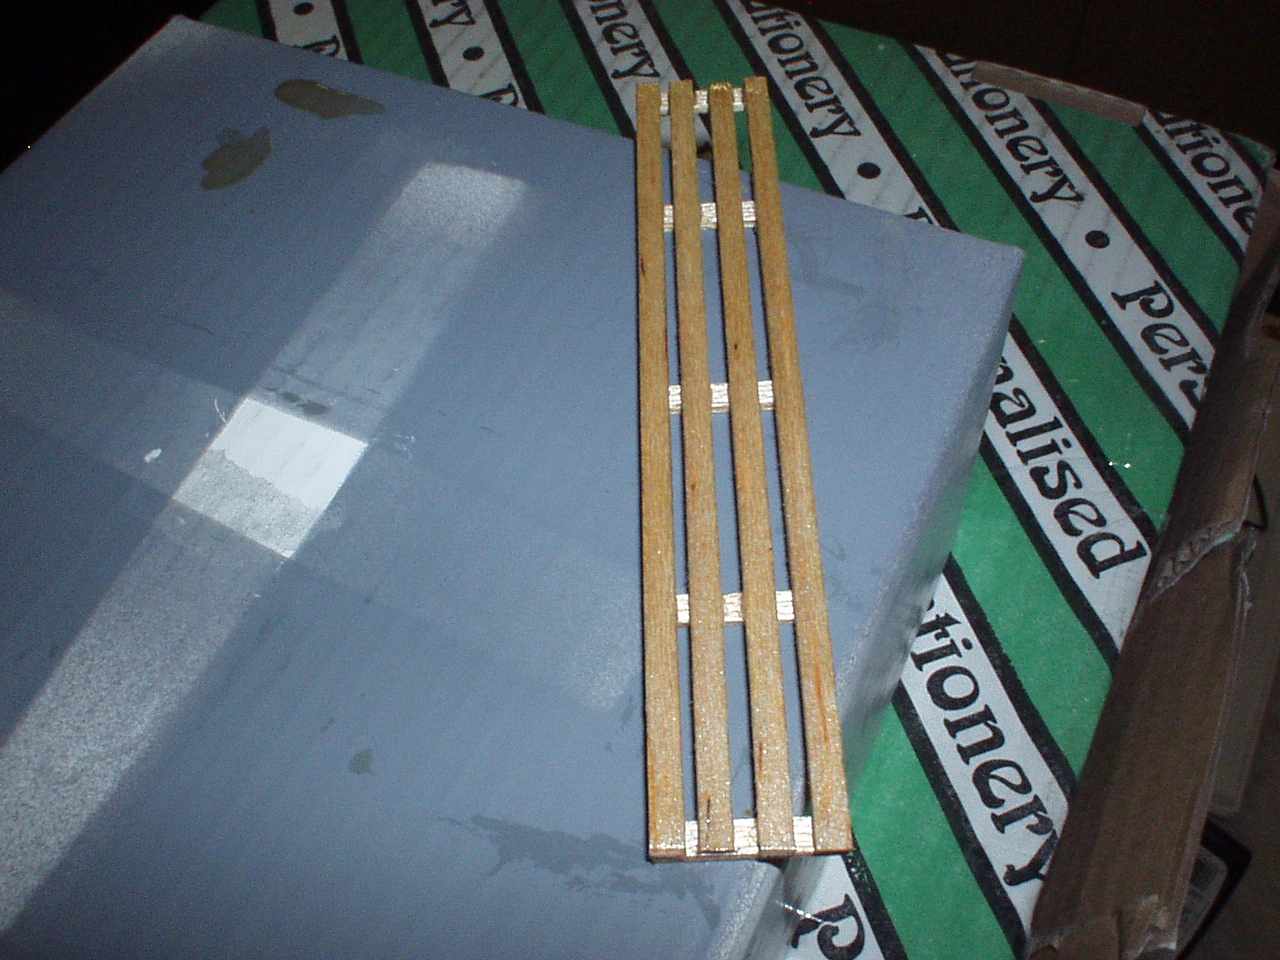
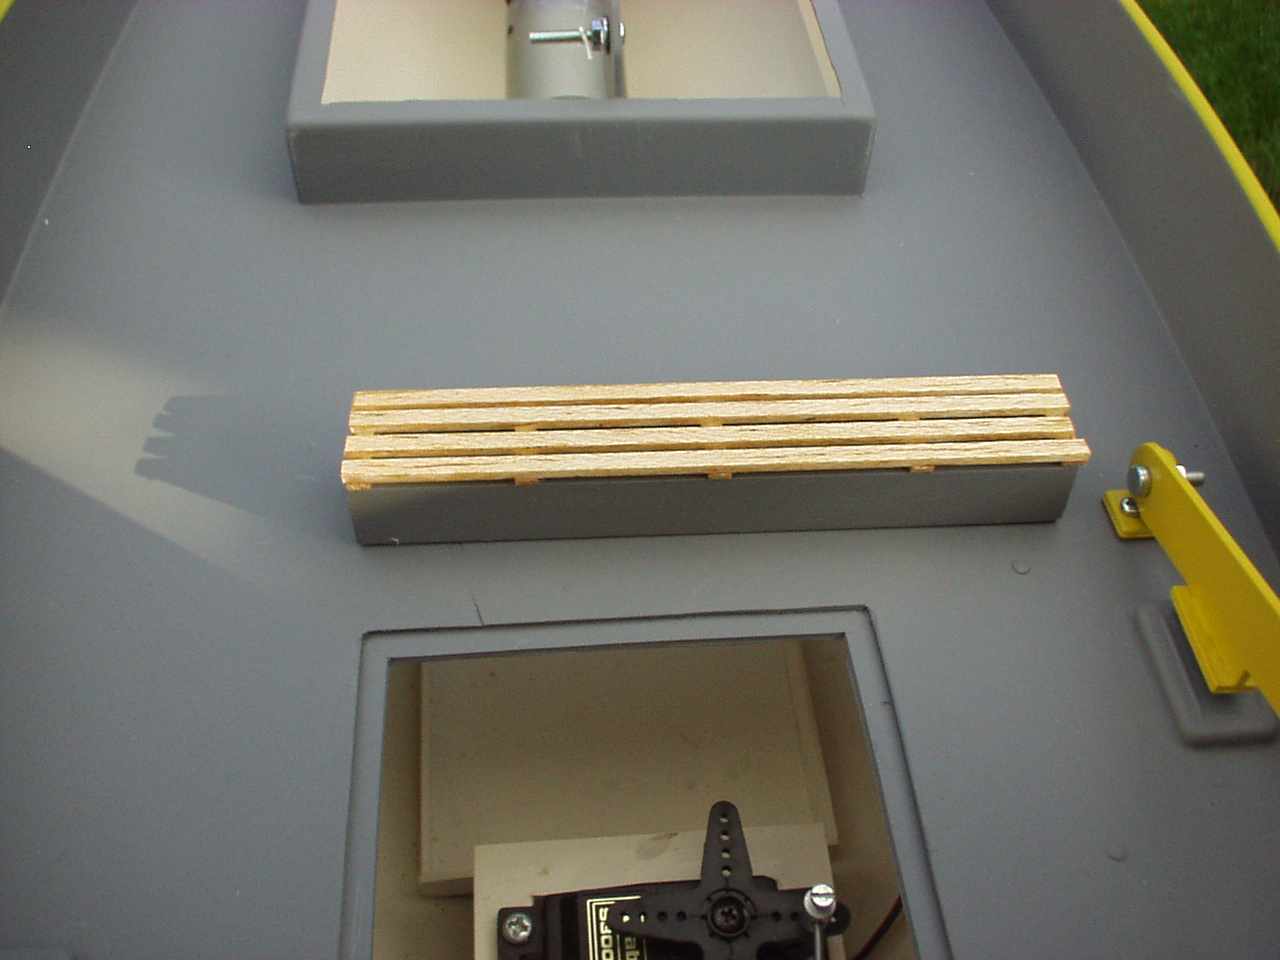
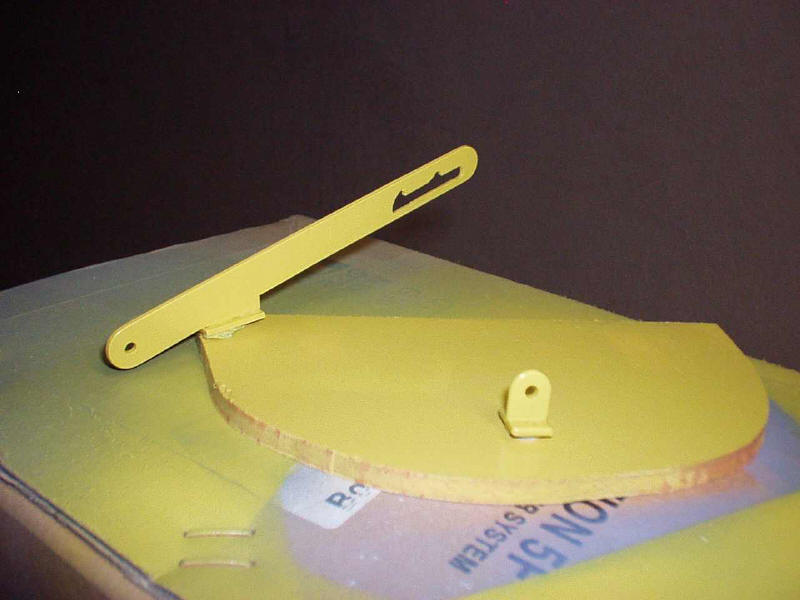
I then hung the crane by the excess thread to be painted along with the crane mounting parts. Once dry the crane was mounted to the hull and screwed in place. Unfortunately once I had made up the spring-loaded arm, I discovered the pressure was to great for the crane and it seemed to bend it, so for now as I wont be using the crane I have left it to one side until I find a solution. The mounts for the buoys were unfortunately removed in error before I brought this boat but with an unwanted hole in the deck I decided to build myself a little bench which I then attached to the hole to cover it up, giving it a very effective seating area. |
|
|
|
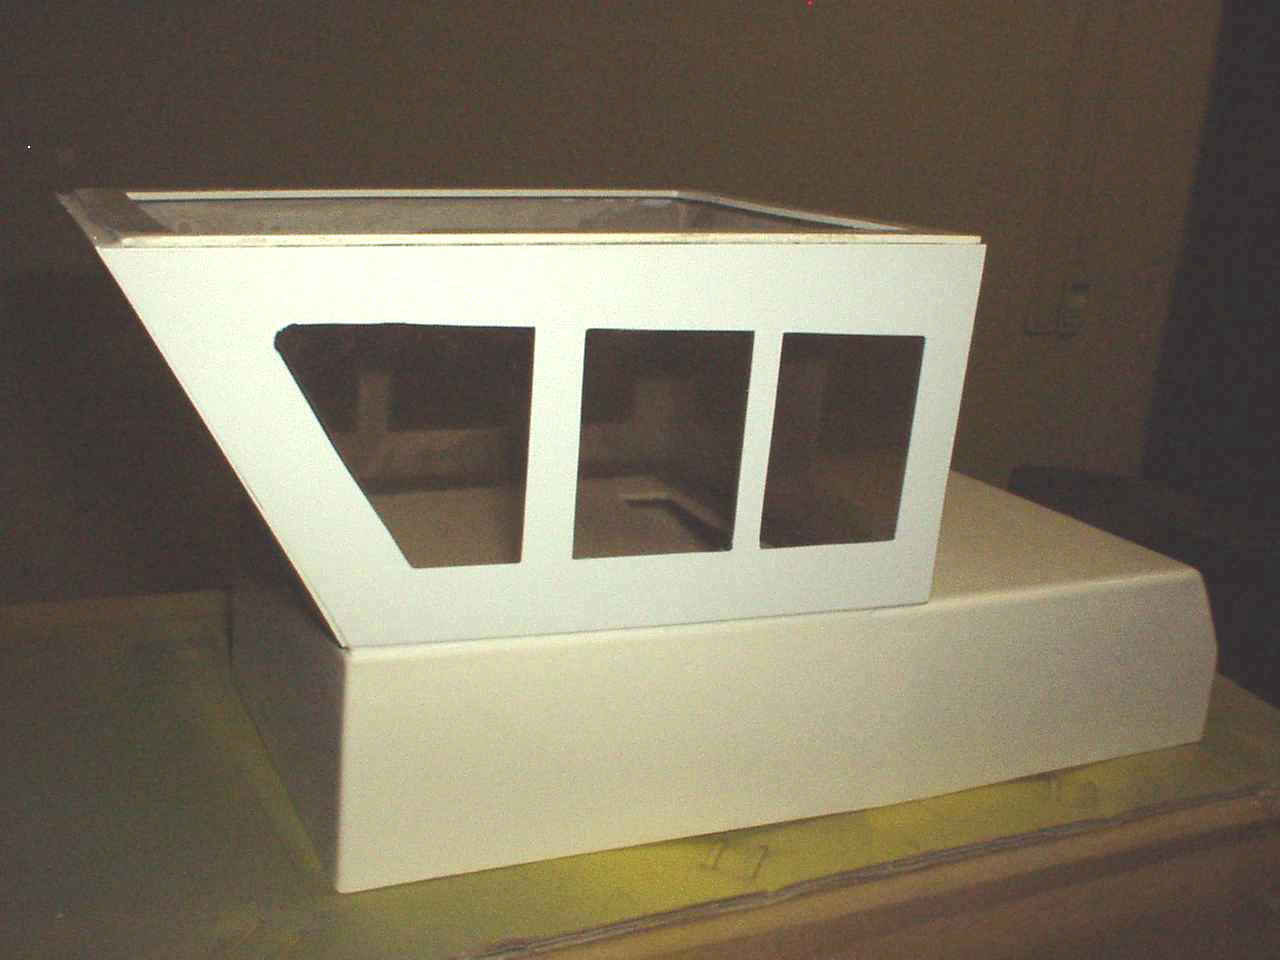
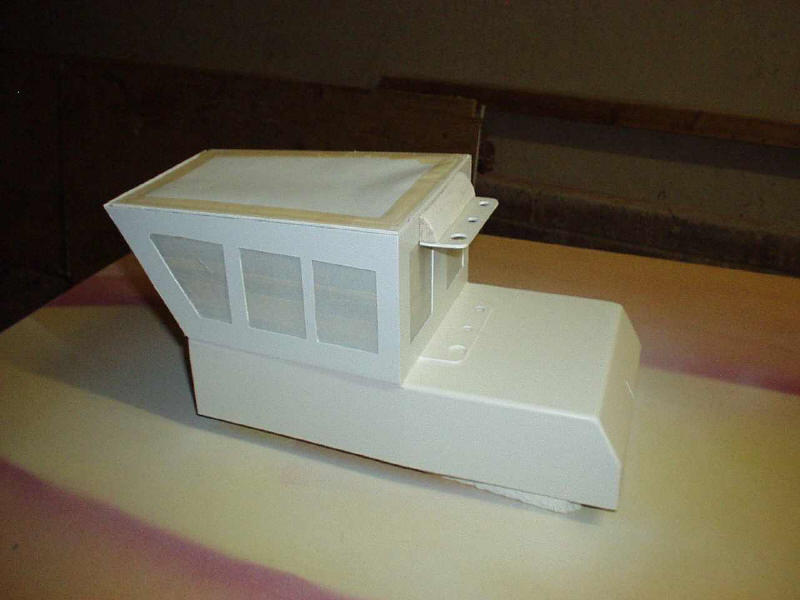
Another job for Brian to do was to cut me out some windows on some plastic using a craft knife to enable me to mount them onto the clear plastic part of the cabin, giving it a great set of windows. I then glued the top cabin affixing it to the lower cabin but noticing an obvious gap between the two, decided to fill the gap with filler and rubbed it down for a smooth finish. |
|
|
|
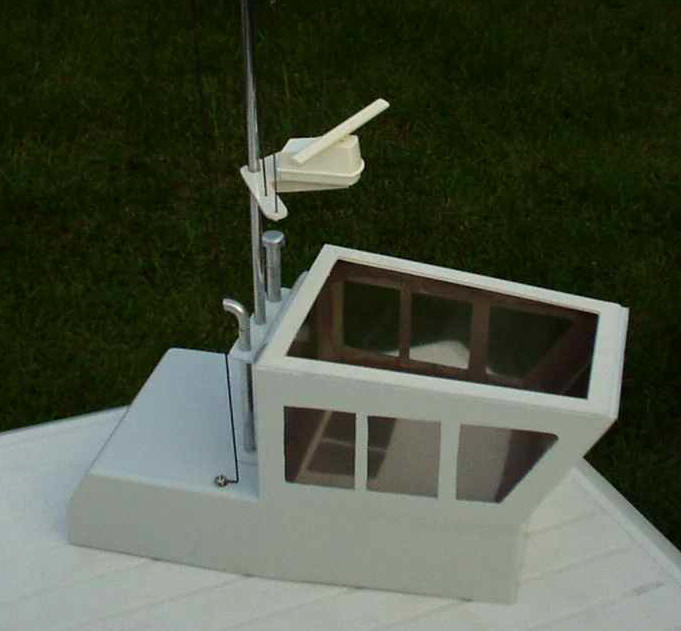
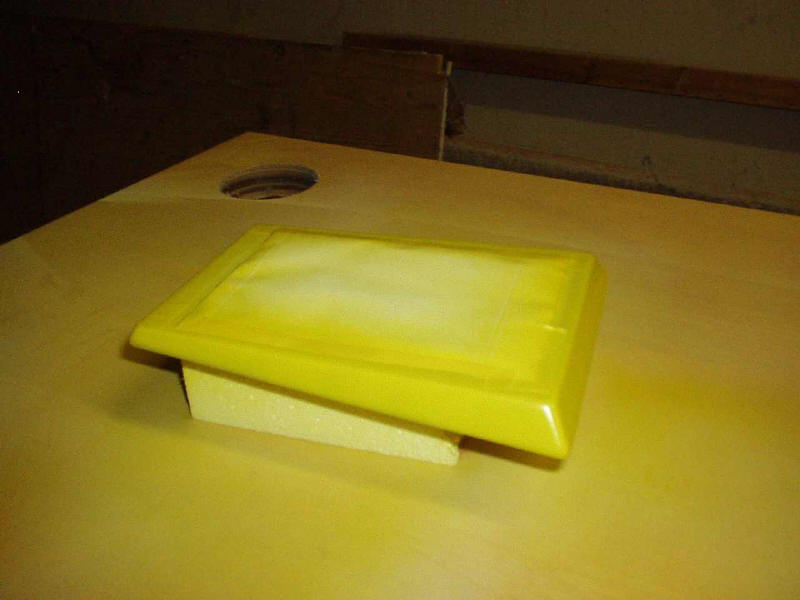
The cabin roof at this point was masked up and painted. Once dry, I realised whilst placing the roof onto the cabin that the top mask shouldn’t have been inserted into the roof. So I modified this idea by placing this mount onto a piece of balsa wood and glued it in place onto the cabin. This makes it easier to remove and also easier to service the lights on the roof. With the cabin complete I cut the masts to size and mounted them in place along with the radar. At this point the boat was almost finished, with an exception of the rope to hold the tyres on and hook to go onto the crane, and also to fit the radio gear and batteries, (one 9 volt battery for the lights and 6 volt to drive the boat). |
|
|
|
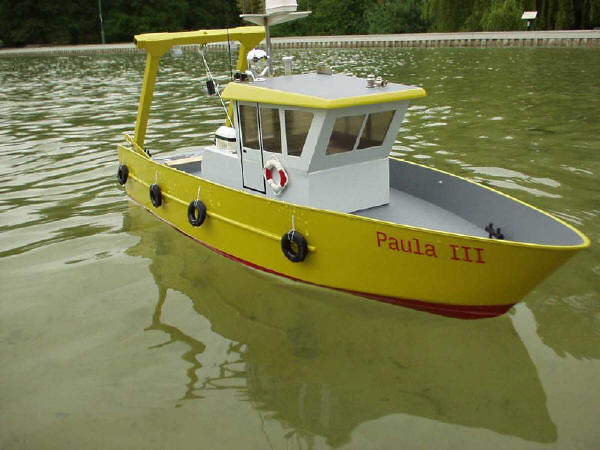
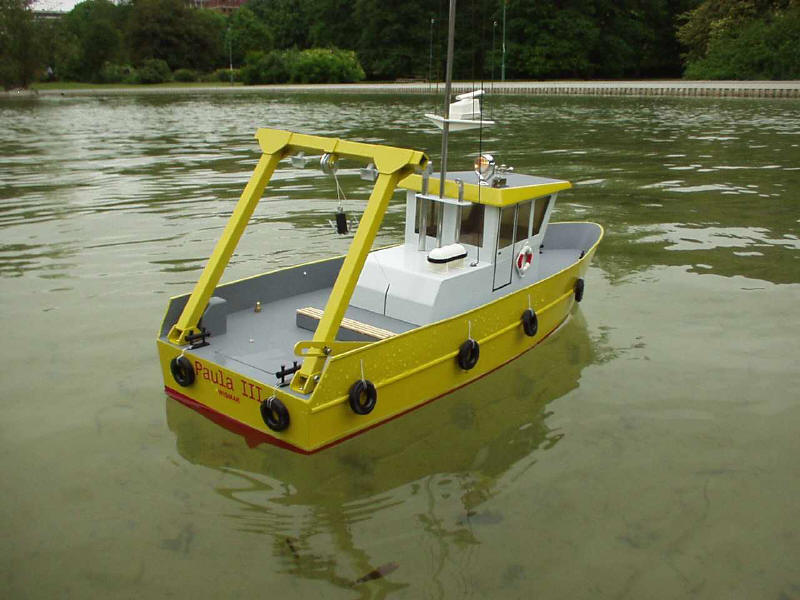
I needed to add a little ballast to then front of the boat to weigh down the boat to the water line. With the radio fitted the boat was complete and ready for sailing for its maiden voyage. I decided the best place for Paula’s first test would be Eastrop park in Basingstoke and once in the water she sailed like a dream, responding extremely well to steering and the power was more than enough and the battery power was brilliant at around 45 minutes running time. This kit is a must have for any boat lover and a pleasurable boat to build. Being a beginner to boat building I very much enjoyed this experience and as a result I am now hooked and have a bigger boat sat at home lined up to start building!! Richard Knott - http://www.woodleymodels.co.uk/
|
|
|