|
Schnellboot -
My Build of Jack's Robbe S130. |
|
|
Click photos to
enlarge. |
Thanks for all the emails, photos and words of
encouragement this week - each gratefully received..... First to get a mention is Ken who also likes to work in his pyjamas in the 'wee small hours' unfortunately Ken spilt an expanding foam mix all over himself, I quote .. 'I cleaned it off as well as I could, but about 3 weeks later, I ended up in hospital gawped over by all sorts of weirdo's (trainee's). "Never seen skin do that before!" .... I've never used it since.' As it turn out, this turns out to be rather prophetic warning! |
|
|
Another email was from Peter who offered a
picture of his nearly completed Robbe S130 as way on encouragement ....
Thanks Peter, but as I'm having so many problems building this kit, I'm taking your email as.... "Naaa Na N Naa Naaaa! I built mine, it was easy!" ;-) |
|
|
Peter says in part... "I've got my kit together but, not without liquid courage to shore up my fortitude. On joining the fore deck to the hull and forecastle I did a lot of dry fitting and employed their half round bits to make the joint. I did an awful lot of carving and whittling on that damn foredeck. When I got it close I used a hell of a lot of superglue and tape. When dry, used body filler and primer to identify any low spots or pits. - Please find enclosed pictures of my 7/8 finished S-130 in my pool." |
|
|
I also found another example of a part built
S130 on the internet. Interesting to see this modellers is also having problems with the
foredeck - he (she) has also used he wrong foredeck cut lines! http://wcmbsc.freeservers.com/index.html - Look under 'New Models' |
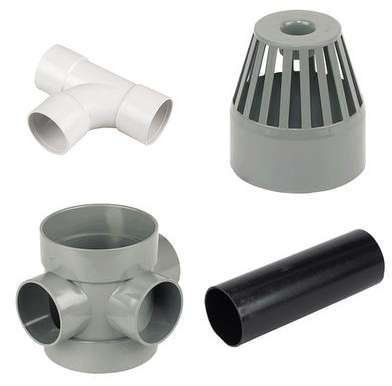 |
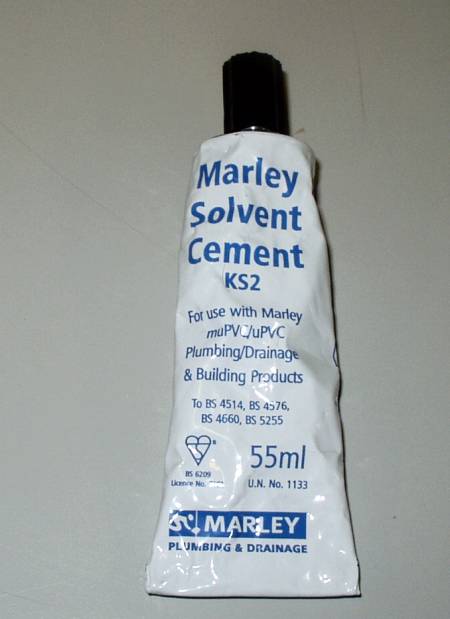
New this week - Rain pipes are made of ABS! |
 |
As I'm going to do the big glue job this week
- foredeck to hull, I thought I'm better make sure of my glues and
fillers. The properties required was: 1. Sufficient working time, 2. Gas filling & 3. Not brittle once set. 4. Cost effectiveness. |
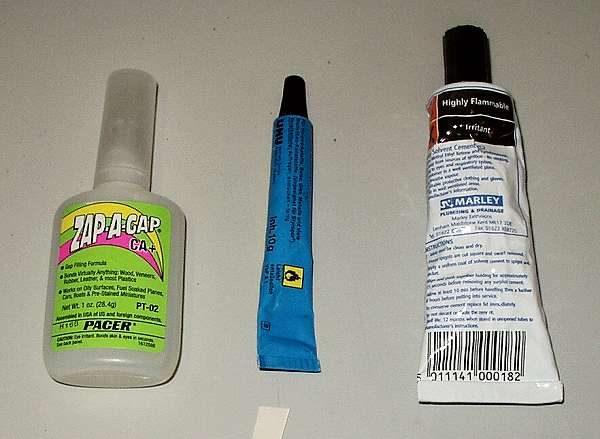 |
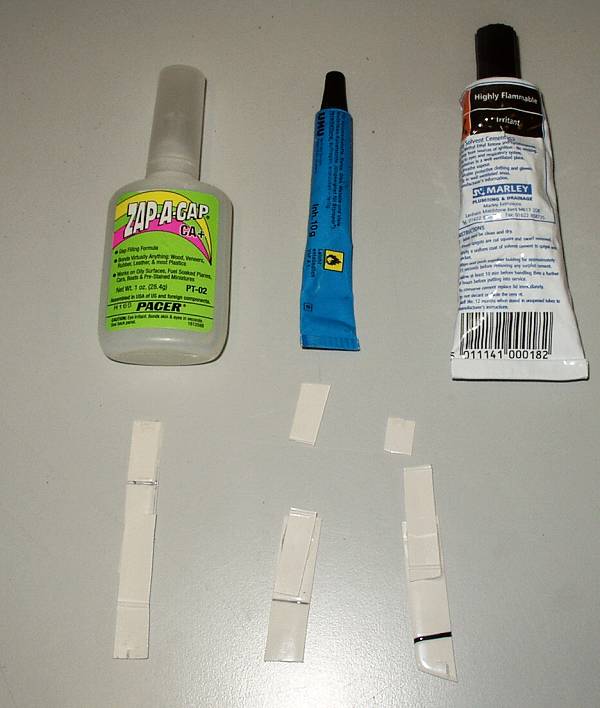
The glues under test are ( from Left-right ); Superglue, Hart, Marley plumbers glue - ( I already know the properties of Stabilit Express and Quantum.) Superglue is semi-brittle, has no gap filling properties and sets almost instantly. Stabilit & Quantum do gap fill very well but set too fast & are very expensive. Hart and plumbers cement have a 10 minute work time ( but no mixing hence a lot easier and quicker to apply ). It's also a solvent (active) cement and gap fills quite well and very important, it does not dry brittle. |
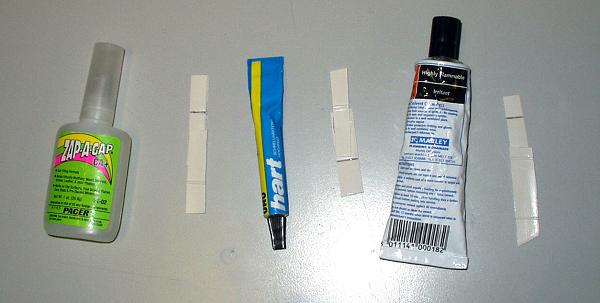 |
Tests were carried out on unprepared off-cuts, unprepared because this would fully test the strength and ability of the glues. |
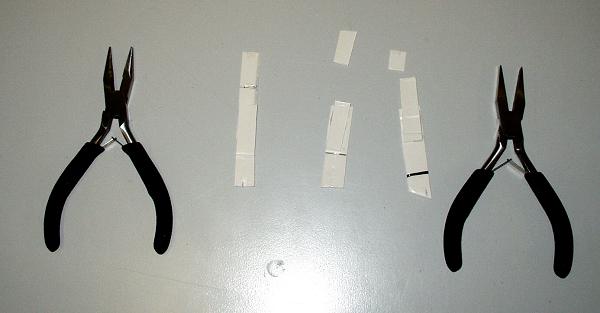 |
Once set, the test pieces were stress tested ( pulled apart with pliers! ). |
  |
All three held fast, the later two even snapped the
samples without the glue giving way. As Superglue has no gap filling properties and there are some big gaps to be bridged on this boat, the choice was between Hart & Plumber cement. The local model shop was closed for annual holidays so plumbers glue it is! |
 |
After deferring over the weekend.... and then
for the glue test ( more delaying tactics ) it was time for the big stick up!
|
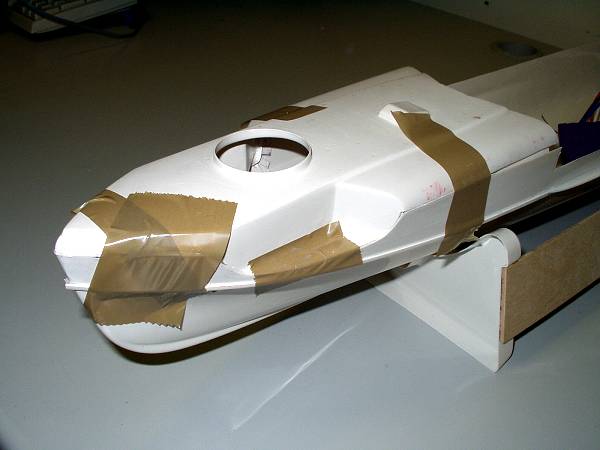 |
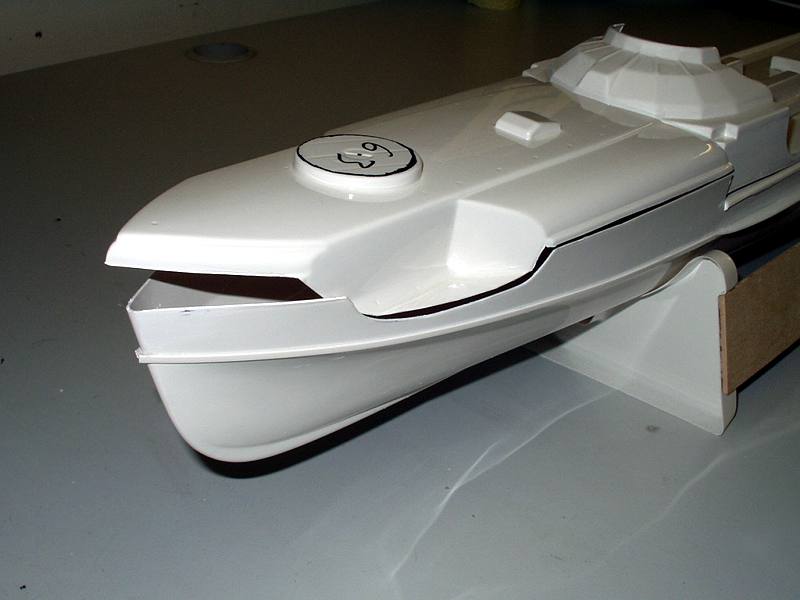
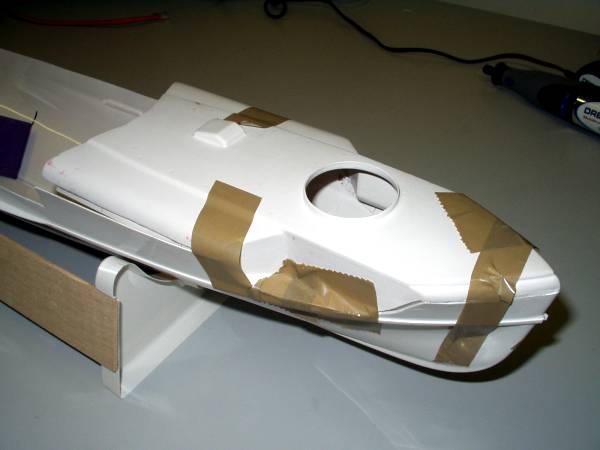
I decided that the gluing could be done in two stages, the bow point back to the torpedo wells and then the two straight sections from the torpedo wells to the cockpit. Once glued, the front was left to cure over night. |
 |
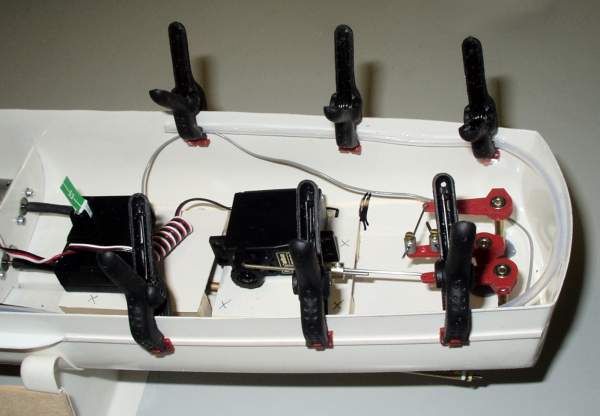
Several clamping trials were carried out for the rear bow section. The best solution seemed to be a clamp and elastic bands! |
 |
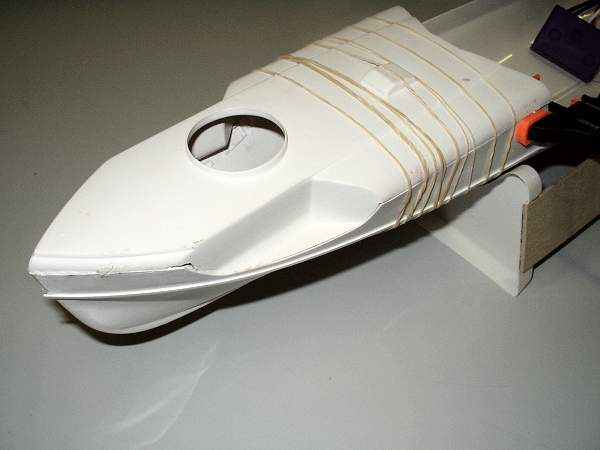
This section was then glued up, Port side first. |
 |
Later that day the Starboard was the glued up. Elastic bands and a pen proved the best way to hold the deck down and keep shape here! |
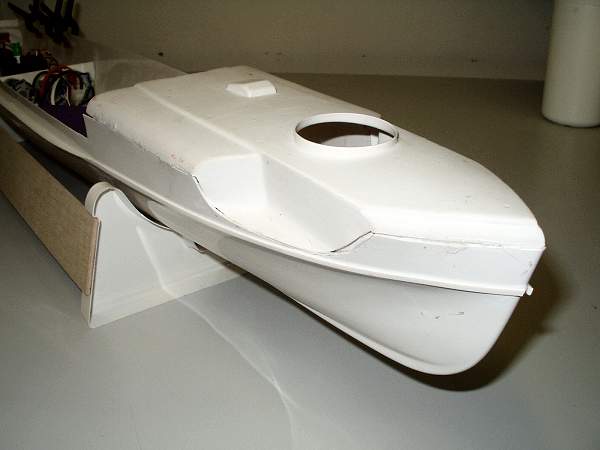 |
Next day the band came off..... |
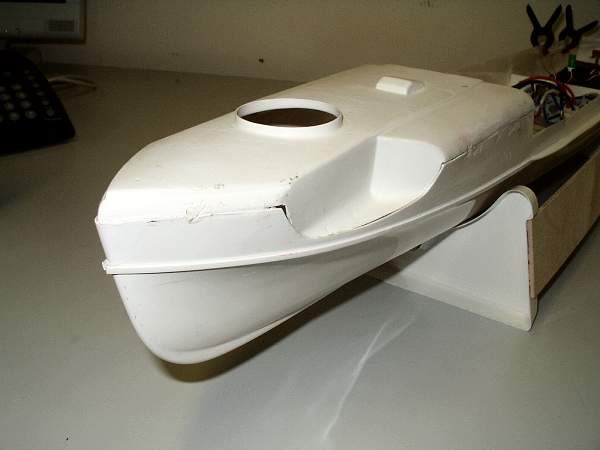 |
.... "Hemmel! Duss his no goot!"
How on earth did this design ever get signed off and out the Robbe factory???!!! |
|
|
If you close your eyes and turn your head away, you can't see the gapping big holes! |
 |
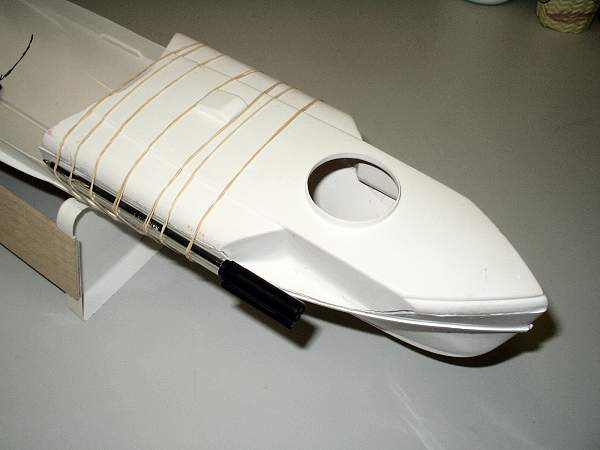
Last job of the day way to glue in a nylon / Mylar tube for the aerial. I was fitting this tube just in case the radio receiver needed to come out, it would then be easy to pull the receiver and aerial out and repair / replace as required. |
 |
The tube proved very difficult to glue. The Superglue didn't hold, so I tried the Plumbers cement. This didn't hold either so both glues had to be removed the hull cleaned up. I got out a very sharp knife and rather stupidly rushed the job....... |
|
|
... 30 minutes later, I was in casualty counting the cost! The knife did it's job jumped out the hull and in to my index finger! Hope your not squeamish but it was like a 'slasher' movie on the work bench, blood everywhere! Anyway it looks a lot worse than it is... but it does look bad! What a time for the wife to take the kids to Grandma for the week, no one to give me any sympathy at home! |
|
|
Thanks goes out to Tom here at work for looking after me and not passing out 'cause I nearly did! ( Incidentally I waited in casualty for 3.5 hours for a proper plaster, got so fed up as it was obvious that I was not going to be seen any time soon as more and more drunks were being wheeled in by the police!!!! £$%*&~'@! - but that's the subject for another web site!!!! ) |
|
|
|